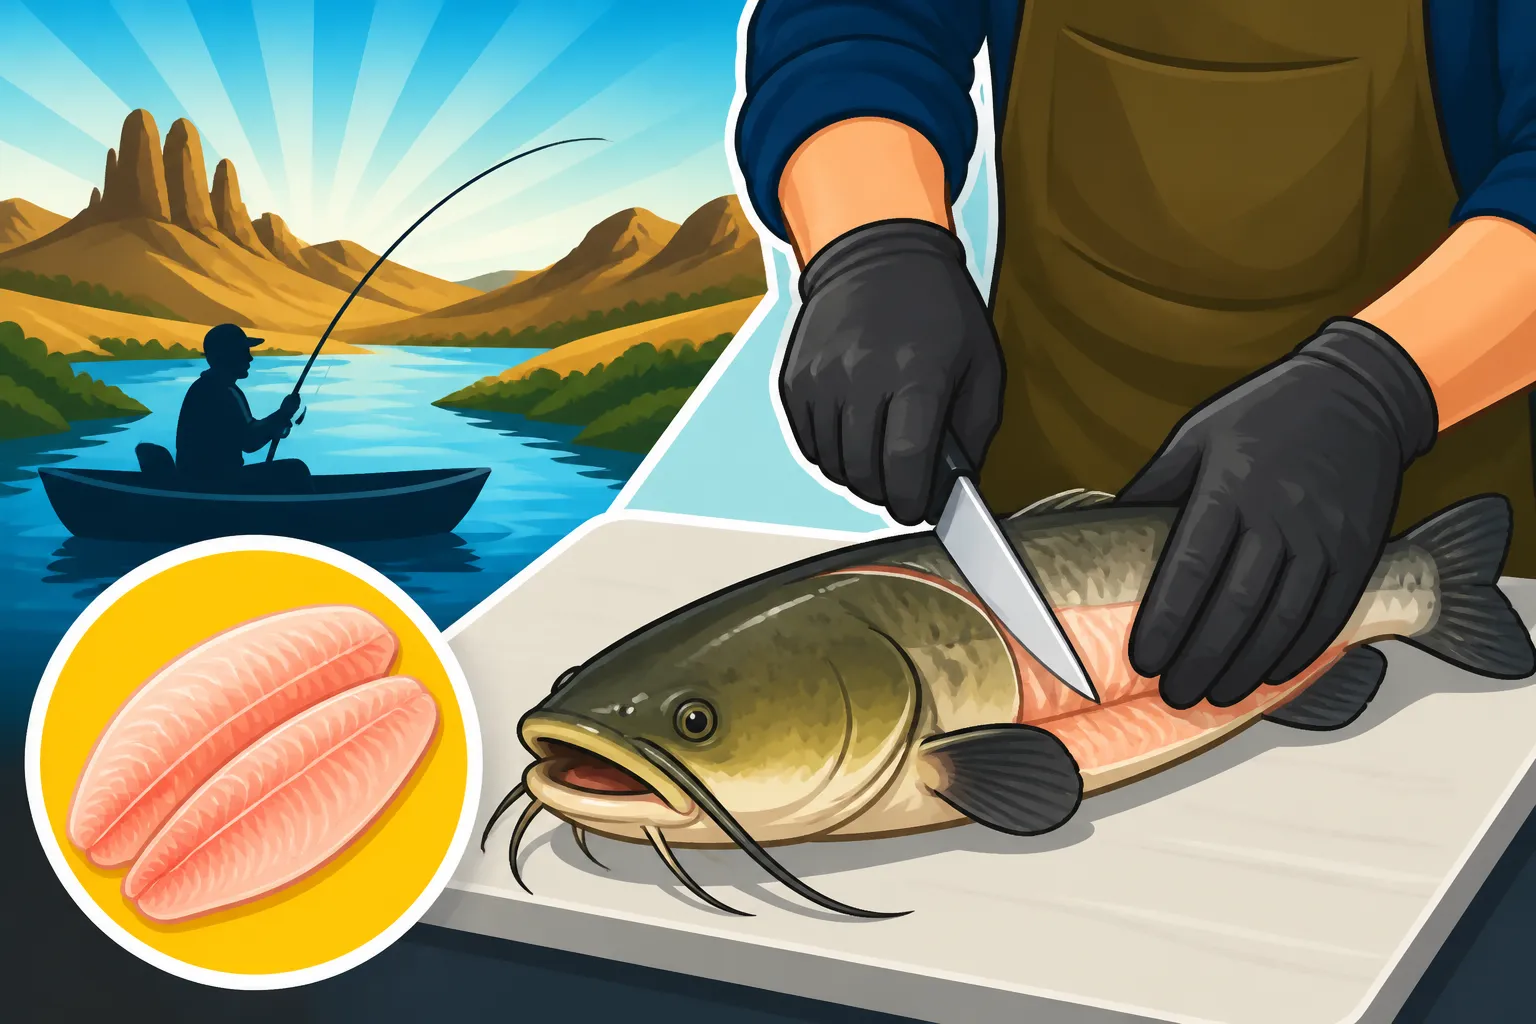
Best Way to Clean a Catfish
Few things are as satisfying as reeling in a hefty South Dakota catfish, especially after a great day out on the Missouri River. But let's be honest, the thought of cleaning that slimy, spiny creature can send even the most seasoned angler into a cold sweat. Many folks find themselves dreading the post-catch cleanup, or worse, losing precious meat because they don't have a reliable method. This comprehensive guide is here to tackle that frustration head-on, walking you through the best ways to clean a catfish, ensuring you get perfectly clean, delicious fillets or steaks ready for the pan.
Essential Gear for Cleaning Catfish
Before you even think about laying your prize catch on the cleaning table, you need to make sure you have the right tools for the job. Trying to clean a catfish with a dull, flimsy knife is not only incredibly frustrating but also dangerous. Having the proper equipment will make the entire process smoother, safer, and far more efficient, ultimately leading to better-looking and better-tasting fish.
The Right Knife Makes All the Difference
When it comes to cleaning catfish, your knife is your most important ally. You wouldn't try to build a house with a butter knife, and you shouldn't try to fillet a catfish with one either! A good fillet knife is paramount. Look for one with a sharp, sturdy blade that offers a good balance of flexibility and stiffness. For catfish, especially the larger ones, a blade length between 7 to 9 inches often works best. Some anglers prefer a more rigid blade for getting through the tougher skin, while others like a bit more flexibility for delicate rib bone removal.
Beyond the fillet knife, a dedicated skinning knife can be a game-changer if you're planning to process a lot of fish. These often have a shorter, more robust blade designed specifically for separating skin from meat. Don't forget the importance of a sharpening stone or a good knife sharpener; a dull knife is much more prone to slipping, increasing the risk of injury. You can find a fantastic selection of reliable fillet knives and sharpeners on Amazon, making it easy to get what you need delivered right to your door before your next fishing trip. Getting your hands on quality tools, like a proper Best Fillet Knife for Catfish, will drastically improve your cleaning experience.
Protecting Yourself: Gloves and Safety Gear
Catfish aren't just slimy; they're also equipped with formidable dorsal and pectoral spines that can deliver a painful, bacteria-laden puncture if you're not careful. This is why personal protective equipment isn't just a suggestion; it's a necessity. Heavy-duty, puncture-resistant gloves are a must-have. Look for gloves made from materials like a combination of rubber, Kevlar, or other cut-resistant fabrics that still allow for good dexterity. Regular dishwashing gloves simply won't cut it.
In addition to hand protection, a sturdy cutting board is crucial. A non-slip surface, often achieved with rubber feet, will prevent the board from sliding around as you apply pressure, which is a common cause of accidents. Some anglers even use a specialized fish cleaning board that has a clamp to hold the fish's tail, providing extra stability. When you're handling a slippery fish with sharp tools, any measure that improves stability and reduces the chance of a slip is a smart move.
Workspace Setup and Sanitation
A well-organized and sanitary workspace will not only make cleaning easier but also ensure the quality of your catch. First and foremost, you need a stable surface that's easy to clean. A designated outdoor cleaning station with a hose nearby is ideal, but a sturdy table covered with a disposable plastic tablecloth or newspapers can work in a pinch. The key is to have space where you can work without feeling cramped and where any mess can be easily contained and cleaned.
Access to running water is incredibly beneficial for rinsing fish as you go and for quick cleanups. A bucket for waste disposal should be within easy reach to keep your primary work surface clear of scraps. Immediately disposing of entrails and skin will minimize odors and help prevent contamination. Remember, the goal is to get that fish from the water to your plate in the cleanest, safest way possible, so a clean environment is non-negotiable.
Step-by-Step Guide to Skinning and Filleting a Catfish
Now that you've got your gear ready and your workspace set up, it's time to get down to business. Cleaning a catfish might seem daunting at first, but with a systematic approach, you'll be able to tackle it like a pro. Whether you've just caught a feisty channel cat from Lake Sharpe or a massive flathead from the Missouri River, these techniques will help you get the most meat from your catch.
Preparing the Fish: Immobilizing and Initial Cuts
The first step, especially if you're working with a freshly caught fish, is to humanely dispatch and immobilize it. Many anglers do this by delivering a quick, firm blow to the top of the head with a blunt object, or by pithing. Once the fish is still, lay it on your cutting board. The slime factor is real with catfish, so a towel or non-slip mat under the fish can help keep it from sliding around too much. Don't forget those puncture-resistant gloves! What Size Hook to Use for Catfish often dictates the size of your catch, so be prepared for anything from pan-sized eaters to true monsters.
Your initial cut is crucial. Start by making a deep cut directly behind the head, extending down to the backbone. You're not trying to cut through the backbone here, just sever the meat and a good portion of the spines that are located at the base of the head. Then, make a shallow cut along the top of the dorsal fin, running the length of the fish to the tail. Repeat this process along the belly, from the vent to the head. These cuts will create the starting points for skinning and filleting.
The Art of Skinning a Catfish
This is where many people get intimidated, but it's actually quite simple with the right technique. There are a few popular methods for skinning a catfish. One common approach involves using a pair of pliers or a dedicated fish skinning tool.
- Pliers/Zipper Method:
- Once you've made your cuts behind the head and along the dorsal and belly, firmly grasp the skin near the top cut with your pliers.
- Peel the skin back, pulling it towards the tail. If the skin is stubborn, you might need to make small relief cuts along the edge as you pull.
- Some anglers will even nail the fish's head to a board or hang it from a hook to get better leverage, then grab the skin with pliers and pull down sharply. This "zipper" effect can quickly remove large sections of skin.
- Work your way around the entire fish until all the tough outer skin is removed. You'll be left with the pinkish, exposed meat.
Another technique, especially for smaller fish, is to simply use your knife to carefully separate the skin from the meat, starting from the top and working your way down. Whichever method you choose, patience is key. Don't rush, as a slip could mean a nasty cut or losing precious meat.
Filleting Techniques for Boneless Meat
With the skin off, you're ready to fillet your catfish. This is where you transform the whole fish into boneless, ready-to-cook portions.
-
Cutting Along the Backbone: Place the skinned catfish on its side. Insert your fillet knife at the top cut you made behind the head, right against the backbone.
- Carefully slide your knife along the backbone, all the way to the tail. Keep the blade pressed firmly against the bones to maximize your meat yield.
- Once you've made this cut, the fillet will still be attached near the tail. You can either slice it off completely or leave it attached to flip the fish over and repeat the process on the other side.
-
Removing the Rib Cage: After you have your two main fillets, you'll notice a section of rib bones still attached to the belly portion of each fillet.
- Lay the fillet skin-side down (or where the skin was) and carefully slice underneath the rib bones, separating them from the meat. Angle your knife slightly upwards to ensure you get as much meat as possible while leaving the bones behind.
- Trim any remaining dark meat or fatty strips from the fillet, as these can sometimes have a stronger, "muddy" flavor. Rinse the fillets thoroughly under cold water to remove any lingering blood or scales.
For larger catfish, like some of the impressive specimens found in the Missouri River, you might consider the steaking method described next. Understanding Channel Catfish vs Flathead Catfish can also influence your cleaning approach, as flatheads often have a thicker, tougher skin.
The 'Steaking' Method for Larger Catfish
When you land a truly massive catfish, say a Flathead that's pushing How Big Channel Catfish Get in the Missouri River limits, filleting it can be a monumental task. The bones become incredibly thick and hard to navigate with a standard fillet knife. This is where the "steaking" method comes in handy.
Instead of trying to remove boneless fillets, you're going to cut the fish crosswise into thick, bone-in steaks, much like you would a salmon or tuna.
- Preparation: Skin the entire fish first, using the pliers method or a robust skinning technique. For very large fish, you might even consider cutting off the head and tail first to make handling easier.
- Cutting Steaks: Lay the skinned fish on your cutting board. Using a heavy-duty butcher knife or a saw (some anglers even use a hacksaw for truly massive fish!), cut perpendicular to the backbone, creating steaks that are 1 to 2 inches thick.
- Trimming: Each steak will have a section of the backbone and some smaller bones. You can leave these in for cooking, as the meat near the bone is often flavorful, or carefully trim them out if desired. Rinse the steaks thoroughly.
The steaking method is fantastic for grilling or frying, as the bone helps to keep the meat moist and adds flavor. It's a pragmatic approach for those impressive catches where traditional filleting becomes impractical.
Post-Cleaning Care and Storage
Congratulations! You've successfully cleaned your catfish. But the job isn't quite done yet. Proper post-cleaning care and storage are just as important as the cleaning itself to ensure your hard-earned catch remains delicious and safe to eat. Neglecting these steps can lead to diminished flavor, tough texture, or even spoilage.
Rinsing and Drying the Fillets
Once your fillets or steaks are free of skin and bones, a thorough rinse under cold, running water is essential. This step washes away any lingering blood, slime, or small bits of bone that might have been missed during the filleting process. However, don't let the fish soak in water for an extended period, as this can cause the meat to absorb water, leading to a mushy texture and loss of flavor.
After rinsing, pat the fillets dry completely with paper towels. Removing excess moisture is crucial for several reasons: it helps prevent freezer burn during long-term storage, allows seasonings to adhere better, and ensures a crispier texture if you plan on frying them immediately. A dry surface is a happy cooking surface!
Short-Term Storage: Refrigeration
If you plan to cook your catfish within a day or two, refrigeration is the way to go. Place the dried fillets in an airtight container or wrap them tightly in plastic wrap. This prevents air exposure, which can cause the fish to dry out and develop off-flavors, and also keeps any fish odors from permeating other items in your fridge.
Store the container in the coldest part of your refrigerator, typically the bottom shelf. Fresh catfish should be cooked within 1-2 days of cleaning for optimal taste and safety. If you've just come back from a successful outing at Missouri River Catfish Fishing Spots, you'll want to enjoy those fresh fillets quickly!
Long-Term Storage: Freezing for Freshness
For anything beyond a couple of days, freezing is your best friend. Proper freezing techniques are vital to preserve the quality and flavor of your catfish for several months.
- Vacuum Sealing: This is arguably the best method. A vacuum sealer removes all air from the packaging, virtually eliminating freezer burn and extending the shelf life of your fillets significantly. Just place your dried fillets in a vacuum sealer bag and seal according to the manufacturer's instructions.
- Water Bath Freezing: If you don't have a vacuum sealer, this method works well. Place your dried fillets in a freezer-safe zip-top bag. Add just enough cold water to completely cover the fish, then carefully squeeze out as much air as possible before sealing. The ice surrounding the fish creates a protective barrier against freezer burn. This is a simple, effective method that anyone can do.
- Heavy-Duty Freezer Bags: Regardless of the method, always use bags specifically designed for freezing. Standard sandwich bags are too thin and won't provide adequate protection against the harsh conditions of a freezer.
Properly frozen catfish can maintain excellent quality for 6-9 months. Make sure to label each package with the date so you know how fresh it is. Having a good system for storage, along with Best Coolers for Keeping Fish Fresh on your trip, ensures your catch is prime for eating.
Troubleshooting Common Catfish Cleaning Challenges
Even with the right gear and techniques, you might encounter a few common challenges when cleaning catfish. Don't worry, every angler faces these at some point. Knowing how to handle them can save you frustration and ensure a better outcome for your efforts.
Dealing with Slime and Spines
Ah, the infamous catfish slime! It's one of their natural defenses, and it makes them incredibly slippery. This is probably the biggest complaint people have when trying to clean these fish.
- For Slime: Some anglers swear by wiping down the fish with a coarse towel or even sprinkling a bit of salt (table salt or rock salt) on the fish before skinning. The salt helps to draw out some of the moisture and make the skin a bit rougher, providing better grip. You can also try a quick dip in very hot (not boiling) water for 10-15 seconds, which can help coagulate the slime and make the skin easier to grab, but be careful not to cook the outer layer of meat.
- For Spines: This goes back to safety gear. Always, always wear those puncture-resistant gloves. When handling the fish, be mindful of the dorsal and pectoral fins. They lock into place when the fish is stressed, making them rigid and dangerous. If you're particularly worried, you can carefully snip off the sharp tips of the spines with heavy-duty kitchen shears before you start cleaning, but this should be done with extreme caution. The initial cuts behind the head should help sever the main attachment points of these spines.
Maximizing Meat Yield from Different Catfish Sizes
The size of your catfish dramatically impacts how you approach cleaning it for maximum meat. A small channel catfish isn't cleaned the same way as a 30-pound flathead.
- Smaller Catfish (under 5 pounds): These are prime candidates for traditional filleting. Their skin is generally easier to remove, and their bones are less robust. Focus on keeping your knife pressed tightly against the backbone and ribs to get every morsel of that delicate white meat.
- Medium Catfish (5-15 pounds): These can still be filleted, but you might find the skin a bit tougher. The pliers method for skinning becomes more effective here. Be extra diligent when removing the rib cage, as the bones will be thicker.
- Larger Catfish (15+ pounds): As discussed with the 'steaking' method, very large catfish are often better suited for steaks. The sheer size and density of their bone structure make traditional filleting challenging and often wasteful if you're not an expert. If you do attempt to fillet, a longer, more rigid fillet knife will be beneficial, and you'll likely need to use more force. Techniques learned for How to Clean a Walleye might seem similar, but catfish have their own unique challenges.
Odor Management and Clean-Up
Fishy odors can linger if not properly managed. This is particularly true for catfish, which can have a stronger scent than some other species.
- During Cleaning: Work quickly and efficiently. Have your waste bucket ready and dispose of guts and skin immediately. A quick rinse of your work area as you go can also help.
- Post-Cleaning: After you've finished, thoroughly scrub your cutting board, knives, and any other tools with hot, soapy water. A solution of bleach and water (diluted, of course) can be used on non-porous surfaces like plastic cutting boards to sanitize and eliminate odors. For your hands, a mixture of lemon juice and salt can help neutralize fish smells. Don't forget to clean any surfaces where fish or scraps may have touched, including the inside of your cooler.
- Preventing "Muddy" Taste: While not strictly a cleaning issue, many anglers worry about catfish tasting "muddy." This is often due to diet and water quality. Properly trimming off any dark red meat or fatty areas along the lateral line of the fillet can help reduce this, as these parts tend to concentrate stronger flavors.
By being prepared for these common issues, you can turn a potentially messy and frustrating task into a smooth and successful one, ensuring those South Dakota catfish taste as good as they possibly can! And remember to check out resources like the South Dakota Catfish Fishing Guide for more tips on catching these great fish.
| Feature | Filleting Catfish (Small to Medium) | Steaking Catfish (Large) |
|---|---|---|
| Fish Size | Ideal for smaller to medium catfish (under 15 lbs) | Best for larger catfish (15+ lbs), especially flatheads |
| End Product | Boneless, skinless fillets | Bone-in, skinless steaks |
| Bone Content | Minimal to no bones (if done correctly) | Contains backbone and smaller bones within each steak |
| Ease of Prep | Requires more precision with the knife to remove bones | Easier to cut through large bones with a heavy knife or saw |
| Meat Yield | High, if precise cuts are made along the bones | Excellent, as less meat is lost around complex bone structures |
| Cooking Use | Versatile: frying, baking, grilling (for smaller pieces) | Great for grilling, pan-searing, baking (bone adds flavor/moisture) |
| Tools Needed | Flexible fillet knife, pliers/skinning tool | Heavy-duty butcher knife or saw, sturdy cutting surface |
| Flavor | Typically mild, can be enhanced by removing dark meat | Bone-in cooking can contribute to a richer, moister flavor |
Disclaimer
This article is for general informational purposes only and does not constitute professional advice. Laws, prices and regulations vary by location and change over time. Consult a qualified professional for guidance on your specific situation.