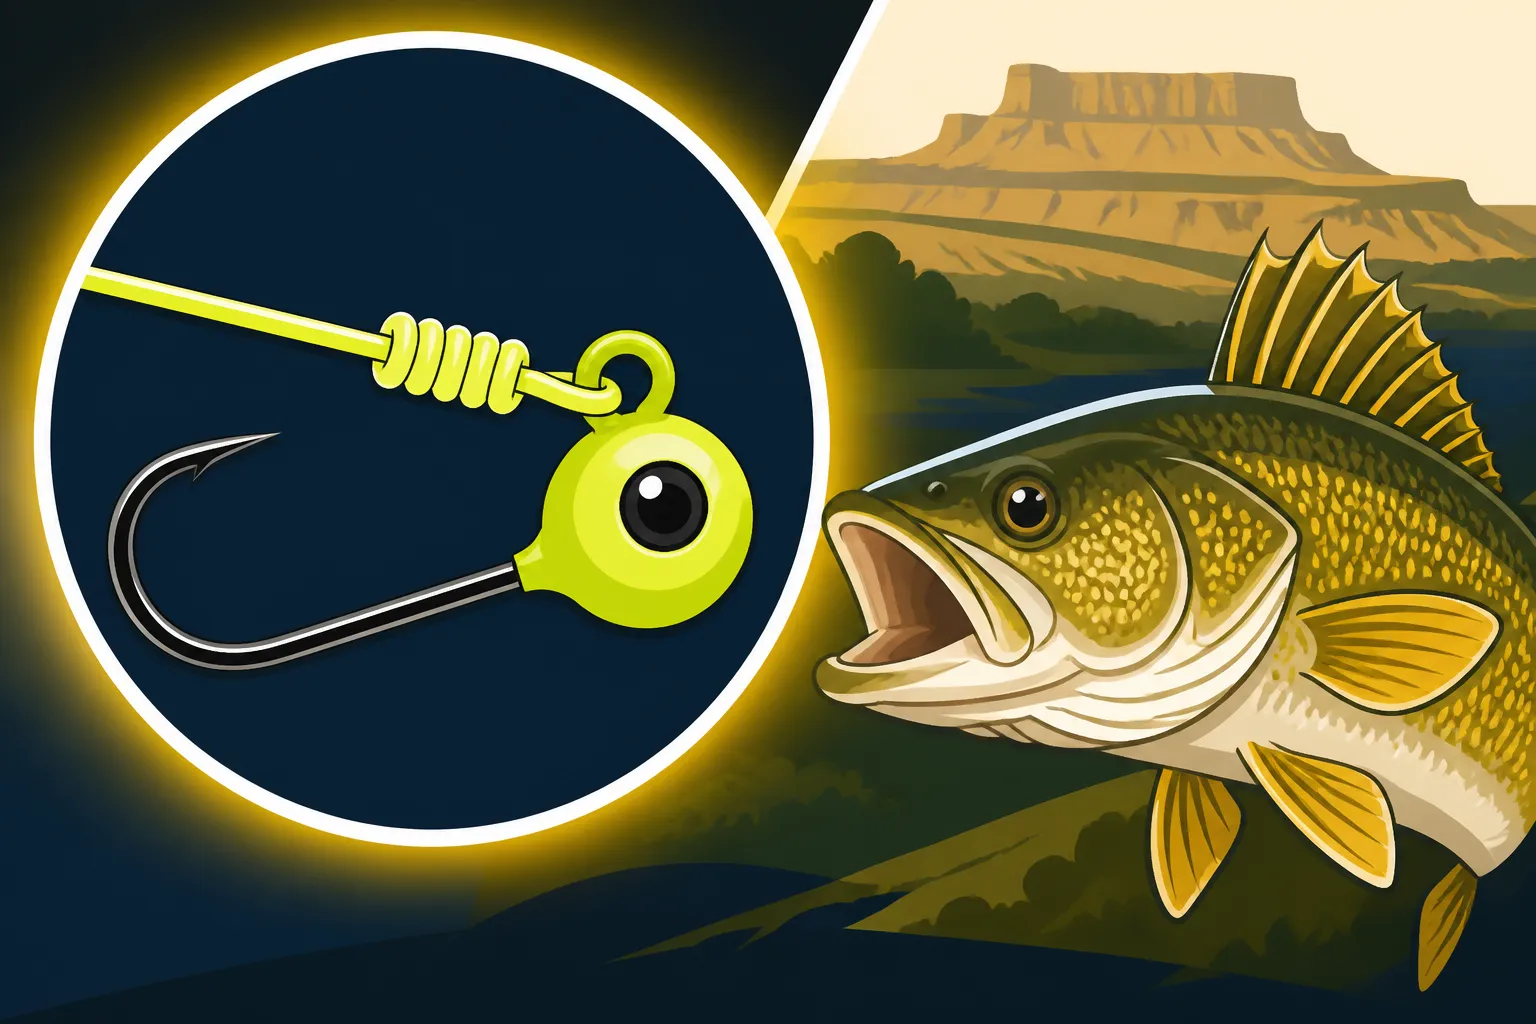
Best Knot for Tying On a Walleye Jig
There’s nothing quite as frustrating as feeling that solid thump of a walleye hitting your jig, only to reel in a slack line and an empty hook. You wonder if the fish just got off, or worse, if your knot failed. Many anglers, even experienced ones, often underestimate how crucial a good, strong knot is, especially when you're out chasing those elusive South Dakota walleye. This guide is here to walk you through the most reliable knots for tying on your walleye jigs, ensuring your connection to that fish is as solid as can be.
Why Your Knot Matters More Than You Think for Walleye Jigs
It's easy to focus on the perfect jig color, the right rod action, or the latest fish finder technology. But the truth is, all that effort can be undone by a single weak point: your knot. When a feisty walleye decides to commit to your offering, that knot is often the only thing standing between you and a successful catch.
The Frustration of Lost Jigs and Fish
Think about it: you’ve spent your hard-earned money on a quality jig, maybe a pricey tungsten model, and carefully selected your spot on the Missouri River or a glacial lake. You finally get a bite, set the hook, and then… nothing. The line goes limp, and your favorite jig is gone, along with the memory of what could have been a trophy walleye. This isn't just a minor annoyance; it can be downright heartbreaking, especially when you're fishing a tournament or trying to put supper on the table. A poor knot can untie itself under pressure, fray and snap against a fish’s powerful head shake, or simply give out if it wasn't tied correctly to begin with. It's a common mistake, but one that's entirely avoidable with a little knowledge and practice.
Understanding Knot Strength and Lure Action
A good fishing knot does two primary things: it retains a high percentage of your line’s breaking strength, and it allows your lure to move naturally. If a knot reduces your 10-pound test line to, say, 50% of its strength, you're essentially fishing with 5-pound test at the critical connection point. That’s a recipe for disaster with a strong fish. Knots are also important for presentation. Some knots, like a snell knot, are designed to keep the hook perfectly straight, which is fantastic for bait fishing but less ideal for a jig where you want maximum wobble and jigging action. A direct, strong connection that allows the jig to swing freely can make a huge difference in how attractive your presentation is, especially when you're trying to entice finicky walleye. We often spend so much time on Best Lures for South Dakota Walleye, but if they're not presented correctly due to a stiff or weak knot, even the best lures won't perform their best.
Top Knots for Tying Walleye Jigs
When it comes to attaching your precious walleye jigs, you need knots that are strong, reliable, and relatively easy to tie, even when your fingers are cold or wet. While there are countless fishing knots out there, a few stand out as true champions for jigging. Each has its own strengths, and knowing a couple of them will serve you well, whether you’re fishing open water or trying to learn How to Jig for Walleye in Current.
The Palomar Knot: A Gold Standard for Jigs
The Palomar knot is arguably one of the strongest and most popular knots for tying on hooks, swivels, and, yes, jigs. It consistently tests at or near 100% of the line's breaking strength, making it incredibly reliable. It's also relatively simple to tie once you get the hang of it, and it excels with both monofilament and braided lines, which many anglers use for their sensitivity when walleye jigging. If you're looking for a go-to knot that you can trust when a big one bites, this is it.
How to Tie the Palomar Knot:
- Double the Line: Fold about six inches of your line back on itself, creating a loop.
- Pass Through Eye: Pass the doubled line (the loop) through the eye of your jig.
- Overhand Knot: Tie a simple overhand knot with the doubled line, making sure the jig hangs loosely in the center of the loop formed by the overhand knot. Don't pull it tight yet.
- Loop Over Jig: Bring the loop end of the doubled line back around and pass it over the entire jig. This is the crucial step that creates the "noose" effect.
- Lubricate and Cinch: Moisten the knot thoroughly with saliva or water. Slowly pull both ends of the main line and the tag end simultaneously. As you pull, the knot will cinch down tightly onto the eye of the jig.
- Trim Tag End: Trim the tag end close to the knot, leaving just a tiny bit of extra for security.
The Palomar is a fantastic choice for anglers using braid, as it holds up exceptionally well without slipping. Its simple, clean structure means fewer points of abrasion, which translates to a stronger connection. Many of the Best Rods and Reels for Walleye are specifically chosen to maximize the feel of a jig, and a solid knot like the Palomar ensures that feel translates into a hooked fish.
The Improved Clinch Knot: A Reliable Classic
Before the Palomar gained widespread popularity, the Improved Clinch Knot was the standard for many anglers. It's a fantastic, time-tested knot that offers excellent strength, especially with monofilament and fluorocarbon lines. While it might not retain quite as much breaking strength as the Palomar with certain braided lines, it's still a very strong contender and often preferred by those who find the Palomar's "pass over the lure" step a bit cumbersome with larger jigs.
How to Tie the Improved Clinch Knot:
- Pass Through Eye: Thread the line through the eye of your jig.
- Twist the Line: Bring the tag end back parallel to the main line, and wrap it around the main line about 5-7 times. The more wraps, generally the stronger the knot.
- Pass Through First Loop: Take the tag end and pass it back through the small loop formed just above the jig eye.
- Pass Through Second Loop: Now, pass the tag end through the larger loop that was created by the previous step (this is the "improved" part).
- Lubricate and Cinch: Moisten the knot and slowly pull on the main line while holding the tag end. The knot should slide down and cinch tightly against the jig eye.
- Trim Tag End: Trim the tag end closely.
The Improved Clinch is particularly good when you’re dealing with cold hands or limited dexterity, as it's a bit more straightforward to manipulate than the Palomar's larger loop. It's a reliable choice for South Dakota Walleye Fishing Guide excursions where you need to re-tie quickly and efficiently.
The Uni Knot: Versatility for Various Situations
The Uni Knot is another incredibly versatile and strong knot that can be used for a variety of fishing applications, including tying on jigs. What makes the Uni Knot so appealing is its adaptability. You can use it to tie on jigs, connect two lines (like leader to main line), or even create a loop. It's a "one-knot-does-it-all" solution for many anglers, making it a valuable skill to master. Its strength is comparable to the Improved Clinch, and it performs well with a range of line types.
How to Tie the Uni Knot:
- Pass Through Eye: Thread the line through the eye of your jig.
- Form a Loop: Bring the tag end back parallel to the main line and form a loop by laying the tag end over the main line.
- Wrap Through Loop: Take the tag end and wrap it around the double line (both the main line and itself) inside the loop you just formed, usually 6-8 times.
- Pull Tag End: Pull the tag end to tighten the wraps, forming a snug "barrel" around the main line.
- Lubricate and Cinch: Moisten the entire knot assembly. Pull the main line to slide the barrel down until it snugs up against the jig eye.
- Trim Tag End: Trim the excess tag end.
The Uni Knot offers excellent security and is a great choice for situations like Jigging Techniques for Missouri River Walleye where you might encounter strong currents and aggressive bites. If you want to keep your knot repertoire lean but effective, the Uni Knot is a powerhouse.
Here's a quick comparison of these three essential knots:
| Knot Name | Primary Strength | Ease of Tying | Best For | Retained Line Strength | Notable Feature |
|---|---|---|---|---|---|
| Palomar Knot | Excellent | Moderate | Jigs, Swivels | Very High (95%+) | Consistently strong, great for braid |
| Improved Clinch | Good | Easy | Hooks, Lures | High (80-90%) | Reliable classic, good for mono/fluoro |
| Uni Knot | Good | Moderate | Versatile (jigs, | High (80-90%) | Adaptable, good for various connections |
| leaders, loops) |
Tips for Tying Stronger, More Consistent Jig Knots
Knowing which knot to tie is only half the battle. How you tie it is just as important. Even the strongest knot can fail if not executed properly. These practical tips will help ensure your knots are consistently strong, giving you peace of mind on the water.
Practice Makes Perfect: Repetition is Key
This might sound obvious, but it's often overlooked. Trying to tie a new knot for the first time on a cold, windy day on Lake Oahe, with a fish biting, is a recipe for a bad knot. Take some time at home, in a comfortable setting with good lighting, to practice these knots. Use an old hook or a paperclip as your jig eye and a piece of scrap fishing line, perhaps even some inexpensive practice line you can find on Amazon. The muscle memory you build will pay off immensely when you’re out fishing and need to re-tie quickly and confidently. Practice until you can tie your chosen knot almost without thinking. This confidence means less fumbling and a stronger, more reliable connection every time.
Lubrication and Cinching: Critical Steps for Strength
This is perhaps the most commonly skipped step, and it's a huge mistake. Before you pull any fishing knot tight, you must lubricate it. A bit of saliva, a quick dip in the water, or even a specialized knot lubricant will prevent friction heat from building up as the knot cinches down. Friction heat can weaken or even melt the fishing line, especially fluorocarbon and monofilament, dramatically reducing its breaking strength.
Once lubricated, cinch the knot slowly and steadily. Don't yank it. A slow, even pull on all appropriate tag and main lines allows the knot to seat properly and evenly, distributing the tension and maximizing its strength. Rushing this step can result in an improperly formed knot that looks tight but is actually compromised. This attention to detail is crucial, especially for delicate lines or when you're targeting big walleye.
Line Selection and Knot Performance
The type of fishing line you use plays a significant role in how well a knot performs. Braided lines, for example, are known for their incredible strength but can be slippery. This is why knots like the Palomar or a properly tied Uni Knot are often recommended, as they grip braid more effectively than a traditional Clinch Knot might. Monofilament lines are softer and more forgiving, making knots easier to cinch down smoothly, and the Improved Clinch works wonderfully here. Fluorocarbon lines are stiffer and have less stretch, but can be prone to "memory" and are more susceptible to friction heat, making lubrication even more vital. Understanding the characteristics of your line will help you choose the Best Line Type for Trolling Crankbaits or jigging, and ensure you're using a knot that complements its properties. Always check the manufacturer's recommendations for knots, as some lines perform better with specific techniques.
When to Retie Your Knot (and Why it's Important)
Even the best-tied knot won't last forever. Fishing involves constant friction, stress, and abrasion that will inevitably weaken your line and the critical connection to your jig. Knowing when to re-tie is just as important as knowing how to tie the knot in the first place. This simple habit can prevent countless lost fish and lures.
Inspecting Your Line and Knot Regularly
Make it a habit to visually inspect the last few feet of your fishing line and your jig knot frequently throughout your fishing trip. Look for any signs of wear:
- Fraying: If you see individual strands of line standing out, or if the line looks "fuzzy" near the knot, it's severely compromised.
- Discoloration: A dull or discolored spot might indicate heat damage from improper cinching or rubbing against structure.
- Kinks or Nicks: Any sharp bends or cuts in the line, no matter how small, are weak points.
- Loose Tag End: If your tag end has somehow worked itself loose, the knot is likely compromised and needs to be re-tied.
Even if you can't see visible damage, running your fingernail along the line just above the knot can sometimes reveal rough spots or abrasions that are otherwise invisible. If anything feels less than perfectly smooth, it's time to re-tie. This vigilance is part of a complete South Dakota Fishing Gear Checklist to ensure everything is in top shape.
After Every Fish or Snag: A Non-Negotiable Rule
This is a golden rule that every serious angler should live by: re-tie your knot after every fish caught, and absolutely after every snag you manage to pull free from. When a fish fights, especially a powerful walleye, it puts immense stress on that knot. Head shakes, surges, and rolls can all weaken the line at its weakest point. Similarly, pulling a jig free from a snag can exert tremendous force, often far exceeding what a fish would apply. Even if the knot looks fine, the internal structure of the line could be stressed or compromised.
Don't gamble away a potential trophy by being lazy. It takes a minute or two to re-tie, but it can save you hours of frustration and the regret of losing the biggest walleye of the day. This is especially true when you're fishing areas known for their structure, where walleye like to ambush prey. Whether you're fishing for Where Walleye Go in Winter or focusing on the warmer months, constantly re-tying after a good fight is a small price to pay for success. This dedication to detail, alongside knowing How to Read a Fish Finder for Walleye, contributes to consistent success on the water.
Disclaimer
This article is for general informational purposes only and does not constitute professional advice. Laws, prices and regulations vary by location and change over time. Consult a qualified professional for guidance on your specific situation.