Best Way to Rig a Nightcrawler for Walleye
One of the most enduring frustrations for any walleye angler, whether you're a seasoned veteran or just starting out on South Dakota's expansive waters, is the age-old challenge of presenting live bait effectively. We've all been there: you feel a subtle tap, you wait, you reel in, and all that's left is a stripped hook and a feeling of missed opportunity. This guide is dedicated to demystifying the art of rigging nightcrawlers for walleye, ensuring your bait stays on, looks irresistible, and leads to more fish in the net.
The Timeless Appeal of Nightcrawlers for Walleye
There's something universally appealing about a live nightcrawler to a hungry walleye. It's not just a traditional bait; it’s a proven, consistent producer across countless lakes and rivers, from the mighty Missouri River reservoirs to the glacial lakes of eastern South Dakota. Understanding why this simple worm is so effective is the first step in mastering its presentation.
Why Walleye Love Nightcrawlers
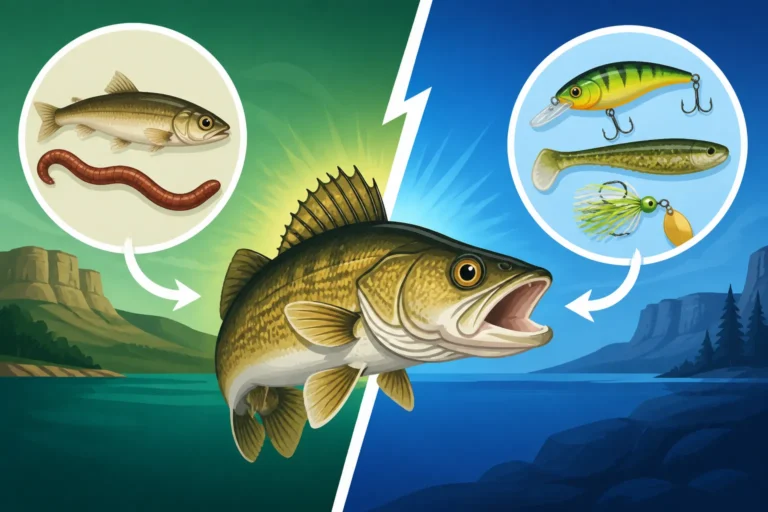
Walleye, being opportunistic predators, are drawn to nightcrawlers for several compelling reasons. Firstly, their natural scent is incredibly potent and diffuses through the water, creating an irresistible trail that walleye can follow even in low visibility conditions. This olfactory cue often triggers a predatory response, even if the fish aren't actively feeding on traditional forage.
Secondly, the inherent movement of a live nightcrawler is a huge draw. A properly rigged worm, whether it's slowly drifting or being trolled, will undulate and squirm in a way that artificial baits can only mimic. This subtle, lifelike action often proves to be the tipping point for finicky walleye that might ignore other presentations. It simulates a natural food source that has perhaps fallen from the bank or is otherwise vulnerable.
Finally, nightcrawlers are a familiar food source. Walleye encounter various invertebrates throughout their lives, and a succulent nightcrawler fits perfectly into their diet, especially during warmer months when these worms are more prevalent in terrestrial environments and can be washed into the water. This familiarity means they are often less hesitant to strike at a nightcrawler compared to something entirely new or artificial. When considering What Walleye Eat in Summer, nightcrawlers are high on their menu.
Common Frustrations with Live Bait
Despite their effectiveness, nightcrawlers come with their own set of challenges that can test an angler's patience. The most common frustration is keeping them on the hook. Walleye are notorious for their light bites, often "nipping" at the tail of a worm before committing. This can lead to the bait being stripped off the hook without a solid hookset, leaving you with nothing but a bare hook.
Another headache is dealing with smaller fish or bait stealers. Perch, crappie, and even small walleye can peck away at a nightcrawler, leaving only a mangled piece or, worse, completely taking it without ever getting hooked. This means constantly checking your bait, especially if you haven't felt a bite in a while, which can be time-consuming and frustrating when you’re trying to locate active fish.
Then there's the general messiness and delicate nature of nightcrawlers themselves. Keeping them healthy and lively requires proper storage, and they can be quite fragile when trying to rig them perfectly. Improper handling can kill them quickly, rendering them less effective, and nobody enjoys trying to thread a dead, limp worm onto a hook. It's a testament to their effectiveness that we put up with these minor annoyances!
Essential Gear for Rigging Nightcrawlers
Successfully rigging a nightcrawler for walleye isn't just about sticking a worm on a hook; it's about having the right tools for the job. Just like you wouldn't use a wrench to hammer a nail, selecting the appropriate hooks, sinkers, leaders, and accessories will make all the difference in your presentation and hook-up ratios. A well-stocked tackle box, perhaps with some gear sourced from Amazon, can seriously improve your fishing game.
Hooks: Choosing the Right Bite
The hook is arguably the most critical component when rigging nightcrawlers. For a single hook setup, Aberdeen or Octopus hooks are popular choices. Aberdeen hooks, with their thin wire, are less likely to kill the worm quickly, keeping it lively. Their wider gap also provides more hooking power once a walleye takes the bait. Octopus hooks, often offset, are designed for better hook penetration with minimal effort.
When it comes to hook size, a good starting point for walleye fishing with nightcrawlers is typically a size #4 or #2. If you're encountering a lot of short strikes, you might consider going down a size to a #6 to expose more of the hook point, or up to a #1 or 1/0 if you're targeting larger fish and want more meat on the hook. For worm harnesses with multiple hooks, smaller treble hooks (like #8 or #10) or tandem single hooks are standard, designed to "spider-web" the worm.
It’s crucial to ensure your hooks are sharp. A dull hook can lead to missed opportunities, as it won't penetrate the walleye's bony mouth effectively. Carry a hook sharpener or regularly replace hooks that show signs of dullness or rust.
Sinkers and Swivels: Controlling Your Presentation
Sinkers are essential for getting your nightcrawler down to the strike zone and keeping it there, especially when battling current on the Missouri River or fishing deeper structures in lakes like Oahe. Walking sinkers, also known as Roach or Lindy Walkers, are fantastic for drifting or slow trolling over rocky or snag-filled bottoms. Their design helps them "walk" over obstacles with less hang-up.
Bullet sinkers, typically used for Carolina rigs, can also be effective, especially when you need a streamlined presentation. Split shots are versatile for adding small amounts of weight to your line for finesse presentations or when fishing shallower water. For more aggressive bottom contact, a slip sinker can be used, allowing the line to run freely through it before hitting a swivel, which means the walleye can pick up the bait without feeling the weight of the sinker immediately.
Swivels play a vital role in preventing line twist, especially when using spinning blades on a worm harness or drifting in current. Barrel swivels are simple and effective for connecting your main line to your leader. Three-way swivels are indispensable for creating Lindy Rigs or other bottom-bouncer setups, allowing your main line, sinker, and leader to extend in different directions, keeping your bait off the bottom and away from your weight.
Leader Material and Line Choices
Your leader material is the connection between your main line and your hook, and its properties can significantly impact your success. Fluorocarbon leaders are often preferred for their low visibility in clear South Dakota waters, as walleye can be quite line-shy. Fluorocarbon also has excellent abrasion resistance, which is important when fishing around rocks or zebra mussels. A 6 to 10-pound test fluorocarbon leader is a good all-around choice.
Monofilament line can also be used for leaders, offering good knot strength and a bit more stretch, which can be forgiving on light bites. However, it's more visible than fluorocarbon. Your main line choice will depend on your preferred fishing technique and rod setup. Braided line offers superior sensitivity and strength, making it easier to detect subtle bites and set the hook. When using braid, always attach a fluorocarbon or monofilament leader to reduce visibility and provide some shock absorption.
For those using a spinning reel for finesse applications, a good quality monofilament or fluorocarbon main line can also work well. Whatever your choice, ensuring your knots are strong and your line is fresh is paramount for success on the water. For optimal Best Fishing Rods and Reels for Walleye setup, matching your line to your rod action is key.
Essential Accessories
Beyond the basics, a few key accessories can elevate your nightcrawler fishing game. Nightcrawler harnesses are pre-tied rigs featuring multiple hooks and often a spinner blade, designed specifically for effective nightcrawler presentation, particularly when trolling or drifting. These can be incredibly convenient, saving you time on the water. You can find a wide variety of these, often with different blade colors and hook configurations, readily available on platforms like Amazon.
Worm blowers, or air injectors, are small, hand-held devices used to inject air into your nightcrawlers. This causes the worm to inflate and float higher in the water column, making it more visible and active. This can be especially effective when fish are suspended or when you want to keep your bait just off a snaggy bottom.
Lastly, having proper bait containers is crucial. A good worm container will keep your nightcrawlers cool, moist, and lively throughout your fishing trip. Look for containers with good ventilation and a way to hold bedding material. You can often find excellent, insulated bait coolers and aeration systems on Amazon to keep your bait in prime condition, which really makes a difference.
Step-by-Step Rigging Techniques for Walleye
Now that you have your gear in order, let's dive into the practical application of rigging nightcrawlers. There isn't just one "best" way; rather, there are several highly effective techniques, each suited for different fishing conditions and angler preferences. Mastering these will give you a versatile toolkit for tackling walleye across South Dakota's diverse fisheries.
The Classic Single Hook Method (Slip Bobber or Bottom Rig)
This is perhaps the most straightforward and widely used method, incredibly versatile for both still fishing under a bobber and for various bottom-contact presentations. For a slip bobber setup, you'll need a bobber stop, a bead, a slip bobber, a sinker (like a split shot or small bullet weight), a swivel, and your single hook. Thread your bobber stop onto your main line, followed by the bead, then the slip bobber. Tie on your swivel, then a 12-24 inch fluorocarbon leader, and finally your hook. This setup is excellent for targeting walleye suspended over structure or in weed lines, allowing you to present the nightcrawler at a precise depth. Learn more about this by checking out How to Rig a Slip Bobber for Walleye.
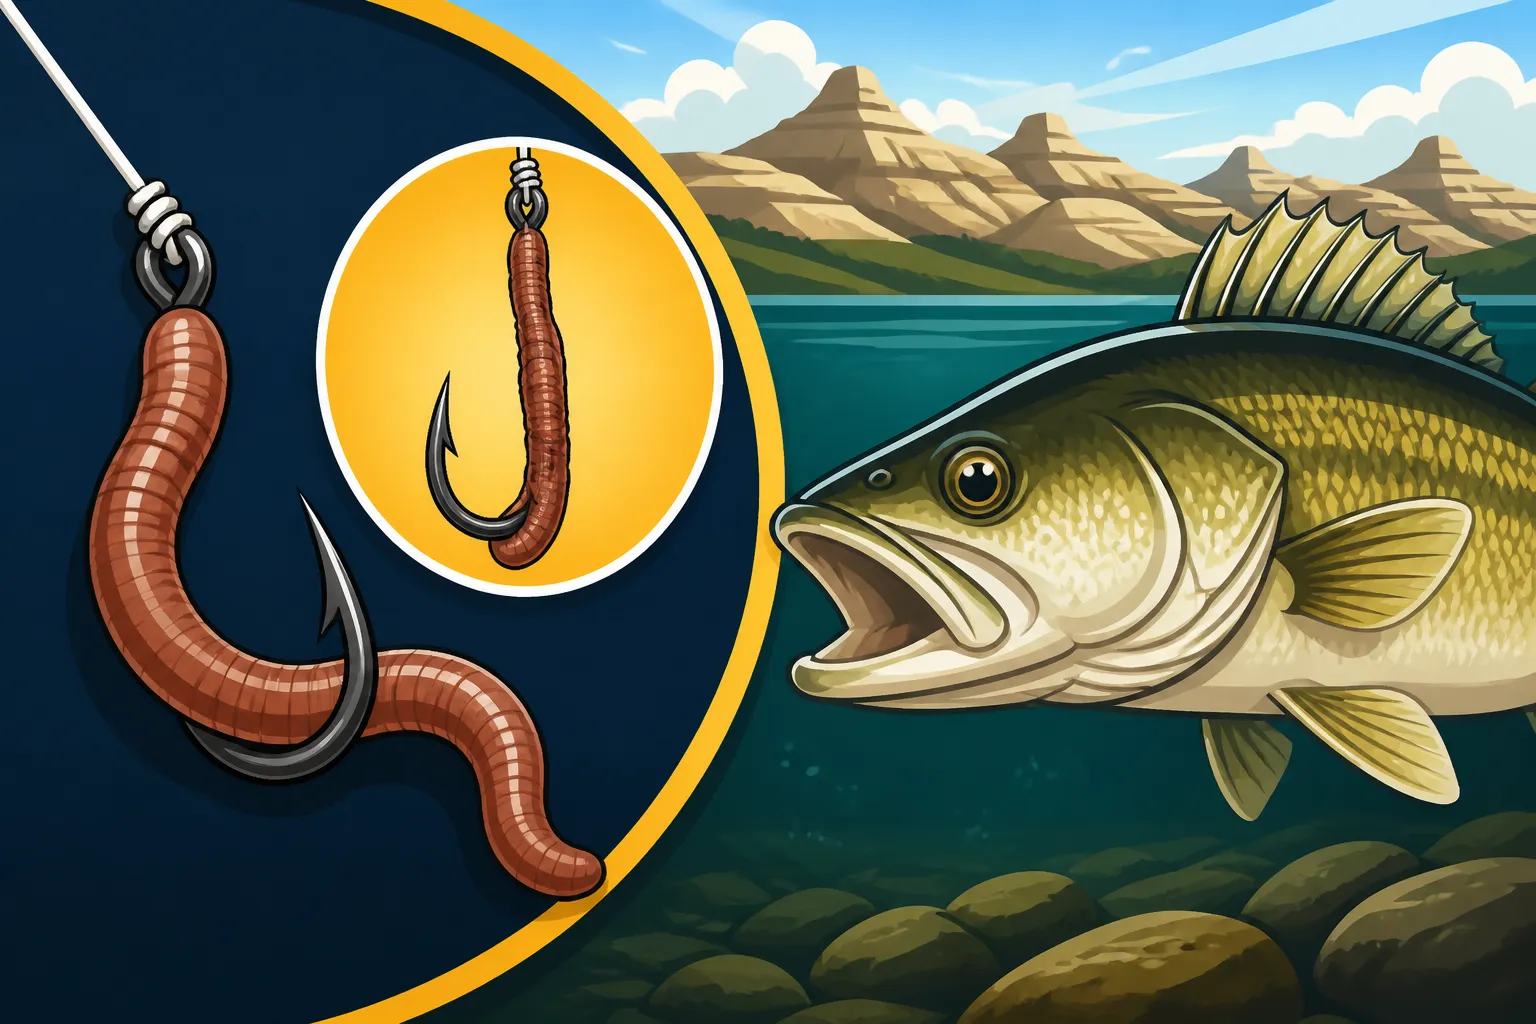
When it comes to putting the nightcrawler on the hook, you have two main approaches. The first is to gently thread the hook through the worm's head, just behind the clitellum (the thick band), leaving the rest of the worm to dangle and squirm freely. This maximizes natural movement and scent dispersion. The second method, often preferred for more aggressive presentations or when bait stealers are an issue, is to thread the worm onto the hook, piercing it several times to cover most of the shank. Leave a good portion of the tail free to entice strikes.
Common mistakes include using too large a hook, which can kill the worm or make it look unnatural, and over-threading the worm, which restricts its movement. Always aim for a natural, lively presentation. For bottom rigs, such as a simple weight-to-swivel-to-leader-to-hook setup, the same hooking methods apply, just without the bobber. This allows the nightcrawler to drift tantalizingly close to the bottom.
The Walleye Worm Harness (Trolling or Drifting)
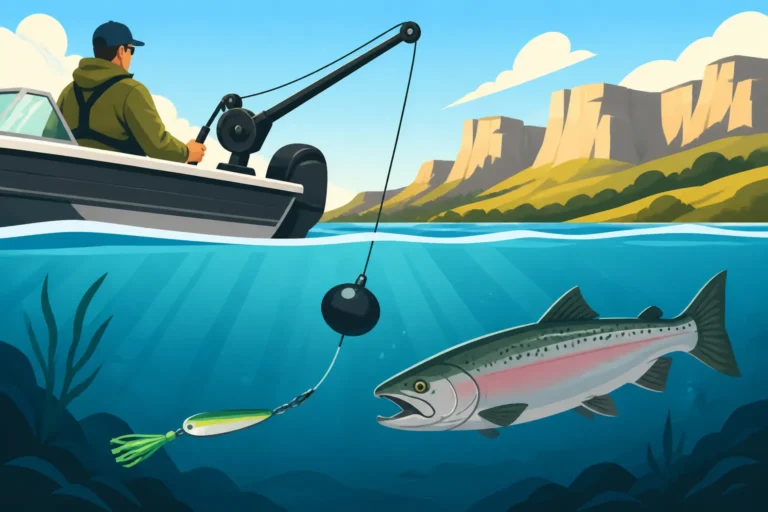
The walleye worm harness is a deadly weapon, particularly when you're covering water by trolling or drifting, which are common Trolling for Walleye on Lake Oahe techniques. A typical harness consists of a leader (often fluorocarbon) with two or three snelled hooks, usually spaced a few inches apart, and a spinning blade attached to the front. The blade creates flash and vibration, acting as an attractant to draw walleye in.
To rig a nightcrawler on a harness, start by hooking the worm through the head on the leading hook. Then, gently stretch the nightcrawler down the shank of the remaining hooks, piercing it once or twice with each subsequent hook. The goal is to keep the worm relatively straight but allow its tail to flutter freely. You want the worm to cover the hooks but not be bunched up, as this can impede the spinner's action and make it look unnatural.
The beauty of the worm harness lies in its ability to present a large, enticing meal with a built-in attraction. The spinning blade, whether it's a Colorado, Indiana, or Willowleaf style, creates a visual and vibratory disturbance that walleye can't resist, especially in stained water. Coupled with the natural scent and movement of the nightcrawler, it’s a powerful combination. You can adjust the speed of your troll or drift to make the blade spin faster or slower, experimenting to see what the walleye prefer.
The Lindy Rig Approach
The Lindy Rig is a classic for a reason: it's incredibly effective for presenting live bait in a natural, subtle manner, particularly for finicky walleye. It's designed to allow your bait to drift naturally on a long leader while the sinker maintains bottom contact, effectively allowing the fish to pick up the bait without feeling the weight. This technique shines on breaks, humps, and structural elements.
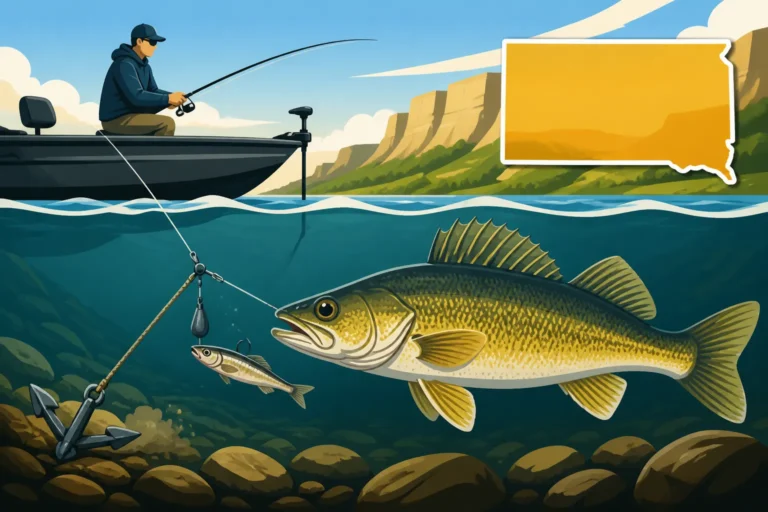
A standard Lindy Rig involves a slip sinker (like a walking sinker or pencil weight) on your main line, followed by a small bead to protect the knot, and then a barrel swivel. From the swivel, you'll tie a long fluorocarbon leader, typically 3-6 feet, though sometimes even longer. At the end of that leader is your single hook, usually a snelled Aberdeen or Octopus hook in a size #4 or #2.
The key to the Lindy Rig is to present your nightcrawler as naturally as possible. Hook the nightcrawler lightly through the nose or just behind the head, allowing maximum natural movement. The long leader allows the worm to tumble and drift freely, mimicking a natural food item, while the slip sinker means the walleye can take the bait and swim off without feeling resistance until you engage the reel for a hookset. This method demands patience and a keen sense of touch, allowing you to distinguish between bottom contact and a subtle walleye bite. While it's a different approach, exploring Jigging Techniques for Missouri River Walleye can also give you insight into bottom-contact presentations.
Enhancing Your Nightcrawler Presentation
Sometimes, the walleye need a little extra nudge to commit. There are several ways you can enhance your nightcrawler presentation to make it even more irresistible. Adding small floats to your nightcrawler leader, especially when using a bottom rig, can keep your worm suspended just off the bottom. This is excellent for preventing snags in rocky areas and keeping your bait visible above sediment or vegetation. These floats can be small foam cylinders or beads, strategically placed near the hook.
Scent is another powerful enhancer. While nightcrawlers already have a natural allure, adding an extra layer of attractant can make a huge difference, particularly in stained or turbid waters. Gel or spray scents infused with various fish attractants like garlic, anise, or fish pheromones can be applied directly to the nightcrawler or the accompanying spinner blade. Companies like Berkley (PowerBait) offer effective scent enhancers that can be found in most tackle shops or on Amazon.
Finally, don't underestimate the power of a worm blower. As mentioned, injecting air into your nightcrawler makes it buoyant and gives it a plump, healthy appearance. This increased volume and lift can make your bait stand out and present itself more naturally in the current or when slowly drifting. It's a simple, inexpensive trick that can significantly increase your bite ratio, especially when walleye are being particularly finicky.
Fishing Strategies with Nightcrawler Rigs
Knowing how to rig a nightcrawler is only half the battle; knowing when and how to fish it effectively completes the picture. Different conditions, times of year, and fishing locations call for varied approaches. Understanding these strategies will empower you to adapt and succeed on South Dakota's diverse fishing grounds.
When and Where to Use Nightcrawlers
Nightcrawlers are particularly effective during the warmer months, generally from late spring through early fall, when water temperatures are conducive to walleye activity and nightcrawlers are a readily available food source. During South Dakota Spring Walleye Fishing Techniques, nightcrawlers on a slip bobber or a slowly trolled harness can be deadly as walleye move into shallower spawning areas and then transition to feeding. As summer progresses, and walleye move to deeper structures and breaks, nightcrawlers fished on Lindy Rigs or deep-trolled harnesses become highly effective.
You can use nightcrawlers in virtually any walleye habitat. On the vast Missouri River reservoirs like Lake Sharpe or Lake Francis Case, they excel when drifted along current seams, trolled over main lake flats, or presented on a Lindy Rig along rocky points and humps. In the glacial lakes of eastern South Dakota, they are fantastic for fishing weed edges, rock piles, and submerged timber, often under a slip bobber or on a lightweight bottom bouncer. Even in the clearer Black Hills lakes, a subtle nightcrawler presentation can entice bites from finicky fish.
Presenting Your Rig Effectively
The key to successful nightcrawler fishing is often a slow, deliberate presentation. Walleye typically aren't chasing down their prey with breakneck speed, especially when they're targeting a subtle meal like a worm. When drifting, let the wind and current do most of the work, occasionally lifting your rod tip to "hop" your sinker or harness along the bottom. This gives your nightcrawler a natural, searching action.
If you're trolling with a worm harness, maintaining a consistent, slow speed is critical. Often, a speed between 0.8 and 1.5 miles per hour is ideal for getting those blades to spin and the nightcrawler to undulate enticingly. Too fast, and your bait might spin unnaturally or tear off; too slow, and the blade won't have enough action. It's worth experimenting with your speed to find what the walleye prefer on any given day. You can find more specific advice on Best Trolling Speed for Walleye.
Maintaining contact with your rig is paramount, whether you're drifting, trolling, or using a Lindy Rig. This means using a sensitive rod, keeping a slight bow in your line to absorb subtle bumps, and paying constant attention to your rod tip. The moment you feel anything out of the ordinary, be prepared for a bite.
Detecting Bites and Setting the Hook
Walleye bites on nightcrawlers can range from a violent strike to an almost imperceptible "tick" on your line. Often, it's a subtle tap, followed by a feeling of heaviness or a slight bend in your rod. The most crucial thing is not to set the hook at the first sign of a nibble. Walleye often mouth the bait, or take just the tail, before fully committing.
When you feel a bite, drop your rod tip slightly towards the water, giving the walleye a moment to fully engulf the nightcrawler. This is often called "feeding line." Wait for the fish to move off with the bait, or for a second, more definitive pull. Then, smoothly and firmly sweep your rod back, setting the hook. Avoid a jarring, overhead hookset, as this can often pull the bait right out of their mouth.
Patience is a virtue here. Counting to "one Mississippi, two Mississippi" after the initial tap before setting the hook can make a world of difference. This allows the walleye enough time to get the hook into its mouth, leading to more solid hooksets and fewer missed fish. Always be ready to adjust your timing based on how the fish are biting that day.
Comparison of Nightcrawler Walleye Rigs
| Rigging Method | Best Use Case | Key Components | Advantages | Disadvantages |
|---|---|---|---|---|
| Single Hook (Bobber) | Suspended fish, shallow cover, precise depth | Bobber stop, bead, slip bobber, sinker, swivel, single hook | Natural presentation, works in weeds, versatile | Can be slow to cover water, prone to bait theft |
| Single Hook (Bottom) | Bottom-hugging fish, drift fishing | Slip sinker, bead, swivel, long leader, single hook | Excellent for finicky fish, natural drift | Requires good bottom feel, can snag |
| Worm Harness | Trolling, drifting, covering large areas | Multiple hooks, spinner blade, leader, weight (often bottom bouncer) | Max flash/vibration, covers water efficiently | Less natural movement than single worm, can tangle |
| Lindy Rig | Finicky deepwater walleye, structural fishing | Slip sinker, bead, swivel, very long leader, single hook | Maximizes bait feel for fish, highly natural | Requires patience, prone to snags in heavy cover |
Disclaimer
This article is for general informational purposes only and does not constitute professional advice. Laws, prices and regulations vary by location and change over time. Consult a qualified professional for guidance on your specific situation.