How to Rig a Slip Bobber for Walleye
There's nothing quite as frustrating as watching your bobber sit perfectly still, knowing there are walleye lurking below, or worse, seeing it twitch ambiguously before your bait is gone. Those elusive, finicky bites can make even the most seasoned angler want to pull their hair out. But what if there was a rigging method that could drastically improve your bite detection and make casting to those deep, structure-holding walleye a breeze? This comprehensive guide is here to walk you through exactly how to rig a slip bobber for walleye, transforming your fishing experience in South Dakota's fantastic waters.
Why Slip Bobbers Are Game-Changers for Walleye
For many anglers, the classic red-and-white fixed bobber is a nostalgic symbol of fishing. We all started with them, and they certainly have their place, especially in shallow, calm waters. But when you're targeting walleye, particularly in the deeper, wind-swept reservoirs and lakes of South Dakota like Lake Oahe or Lake Sharpe, a fixed bobber often falls short. This is where the slip bobber truly shines, offering unparalleled versatility and sensitivity.
The Limitations of Traditional Fixed Bobbers
Fixed bobbers, as the name suggests, are clamped or attached at a static point on your fishing line. While simple and effective for panfish in a farm pond, they present significant challenges when you need to fish deeper than your rod length. Imagine trying to cast a bait that's set 15 feet deep with only an 8-foot rod; it's a tangled mess waiting to happen, or simply impossible. The sheer length of line between your rod tip and the bobber makes a smooth cast a pipe dream.
Furthermore, these bobbers are often bulky, creating noticeable resistance when a wary walleye takes the bait. A walleye is notorious for its subtle bite – sometimes just a gentle "tick" or a slight elevation of the bobber before it drops. If the fish feels too much drag from a large fixed bobber, it'll often drop the bait before you even realize it had a chance. This leads to missed opportunities and a lot of head-scratching moments back at the dock.
Unlocking Depth and Sensitivity with Slip Bobbers
The beauty of a slip bobber lies in its design: it "slips" freely up and down your fishing line. This freedom is controlled by a small bobber stop knot or bead that you can adjust to any depth you desire. Need to fish 30 feet deep? No problem. The bobber slides down to your bait, allowing you to reel in the excess line and make a perfectly smooth cast. Once the rig hits the water, the weight of your bait pulls the line through the bobber until it hits the stopper knot, presenting your bait at the precise depth you’ve chosen.
Beyond depth control, slip bobbers are typically designed to be far more sensitive than their fixed counterparts. Many models are slender, weighted, and designed to offer minimal resistance to a biting fish. This means even the most delicate walleye nibble can be detected, often by just a slight dip or a slow drift of the bobber. This enhanced sensitivity means more hooksets and, ultimately, more walleye in the boat. For anyone serious about walleye fishing, understanding the nuances of the South Dakota Walleye Fishing Guide almost always involves a slip bobber rig in your arsenal.
Gathering Your Essential Slip Bobber Rig Components
Before you can start reeling in those beautiful South Dakota walleye, you'll need to gather the right tools. While the concept of a slip bobber rig is straightforward, having the correct components for walleye specifically will make all the difference in presentation and performance. You can find most of these essential items readily available online through retailers like Amazon, or at local tackle shops across the state.
Rod, Reel, and Line for Optimal Performance
When it comes to your rod and reel setup for slip bobber fishing, balance and sensitivity are key. A medium-light to medium power spinning rod, typically 6'6" to 7'6" in length, is ideal. The extra length helps with casting distance, especially when you're trying to reach distant structure, and also aids in managing longer leaders. Look for a rod with a fast or extra-fast action tip; this sensitive tip will transmit even the lightest tap from a walleye, while the backbone of the rod provides the power needed for a solid hookset. Many anglers find the "Best Rods and Reels for Walleye" guides emphasize these characteristics for this technique.
Pair your rod with a quality spinning reel in the 2500 or 3000 series. Smooth drag and consistent line lay are paramount. For your main line, 6-10 lb test monofilament or fluorocarbon is a popular choice for its stealth and good knot strength. However, many savvy walleye anglers prefer 10-20 lb braided line for its zero stretch and incredible sensitivity, which allows you to feel everything that's happening at the end of your line. If you opt for braid, remember to add a fluorocarbon leader (6-10 lb test, 18-36 inches long) between your main line and terminal tackle. Fluorocarbon is nearly invisible underwater, a huge advantage for skittish walleye, and offers excellent abrasion resistance against rocks and zebra mussels.
Selecting Your Bobber, Stopper, and Beads
These three small components are the heart of your slip bobber rig, enabling its adjustable depth. The slip bobber itself comes in various shapes, sizes, and materials. For walleye, choose a bobber that is sensitive enough to detect subtle bites but buoyant enough to support your bait and terminal tackle without sinking. Balsa wood or foam bobbers are common, with many featuring a weighted bottom to help them stand upright and present more sensitively in the water. Some anglers prefer clear plastic models to reduce visibility. You can often find multi-packs on Amazon that offer different sizes for varying conditions.
The bobber stopper is what determines your fishing depth. The most common type is a small string knot, often sold in packs with a plastic sleeve for easy threading onto your main line. These are fantastic because they can be cinched down tightly, won't damage your line, and can pass through rod guides easily. Rubber stops are also available but tend to be bulkier and might impede casting. Make sure your stopper knot is snug enough to hold its position but loose enough to slide for depth adjustments.
Finally, a small plastic bead is crucial. This bead goes between your bobber stopper and the top of your slip bobber. Its purpose is to prevent the bobber stopper knot from pulling through the hole in your bobber. Without it, your bobber stopper would simply disappear into the bobber's opening, rendering your depth control useless.
The Right Terminal Tackle for Walleye
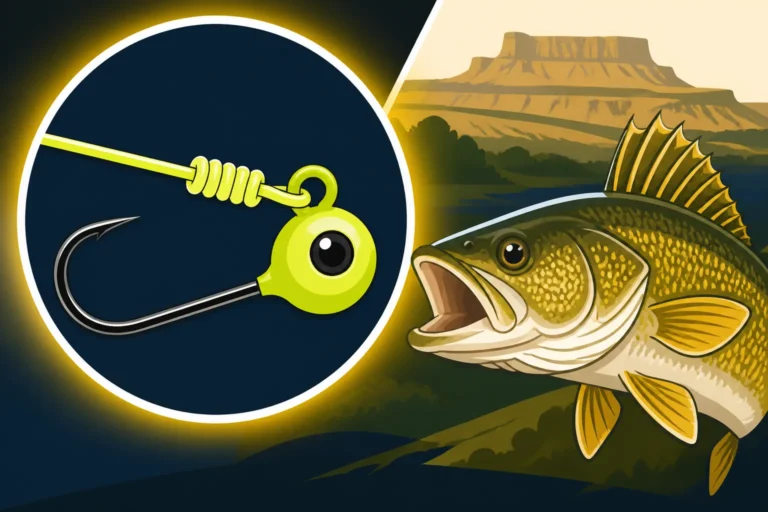
Your terminal tackle is what truly attracts the walleye and gets the hook in their mouth. For slip bobber fishing, less is often more. Your hook choice will depend on your bait. If using live minnows or leeches, a light wire, sharp hook like a #6 or #4 octopus hook is perfect. This allows the bait to swim naturally and minimizes resistance when a walleye inhales it. For live nightcrawlers, a small jig head (1/16 to 1/8 ounce) or a worm hook with a small trebles hook can be effective.
To ensure your bait gets down to your desired depth and keeps your bobber sitting properly, you'll need weight. Split shot sinkers are ideal because they can be easily added or removed to fine-tune your rig. A few small split shots crimped a foot or so above your hook are usually sufficient. Sometimes, a small egg sinker above a swivel is used, especially in deeper or current-heavy waters. Remember, the goal is to use just enough weight to get your bait down and make your bobber stand upright without pulling it under or making it insensitive.
A small barrel swivel can be a great addition, especially if you're using live bait that tends to spin, like minnows or leeches, or if you're using a fluorocarbon leader. It helps prevent line twist, and also provides a strong connection point between your main line and your leader. Ensure it's small and low-profile to avoid spooking fish.
A Step-by-Step Guide to Assembling Your Walleye Slip Bobber Rig
Alright, you've got all your gear laid out, maybe a fresh pack of Gulp! Minnows or some lively leeches from the bait shop in Pierre. Now comes the moment of truth: putting it all together. Don't worry, rigging a slip bobber for walleye is simpler than it sounds, and with a little practice, you'll be doing it blindfolded.
Setting Up Your Bobber Stopper and Bead
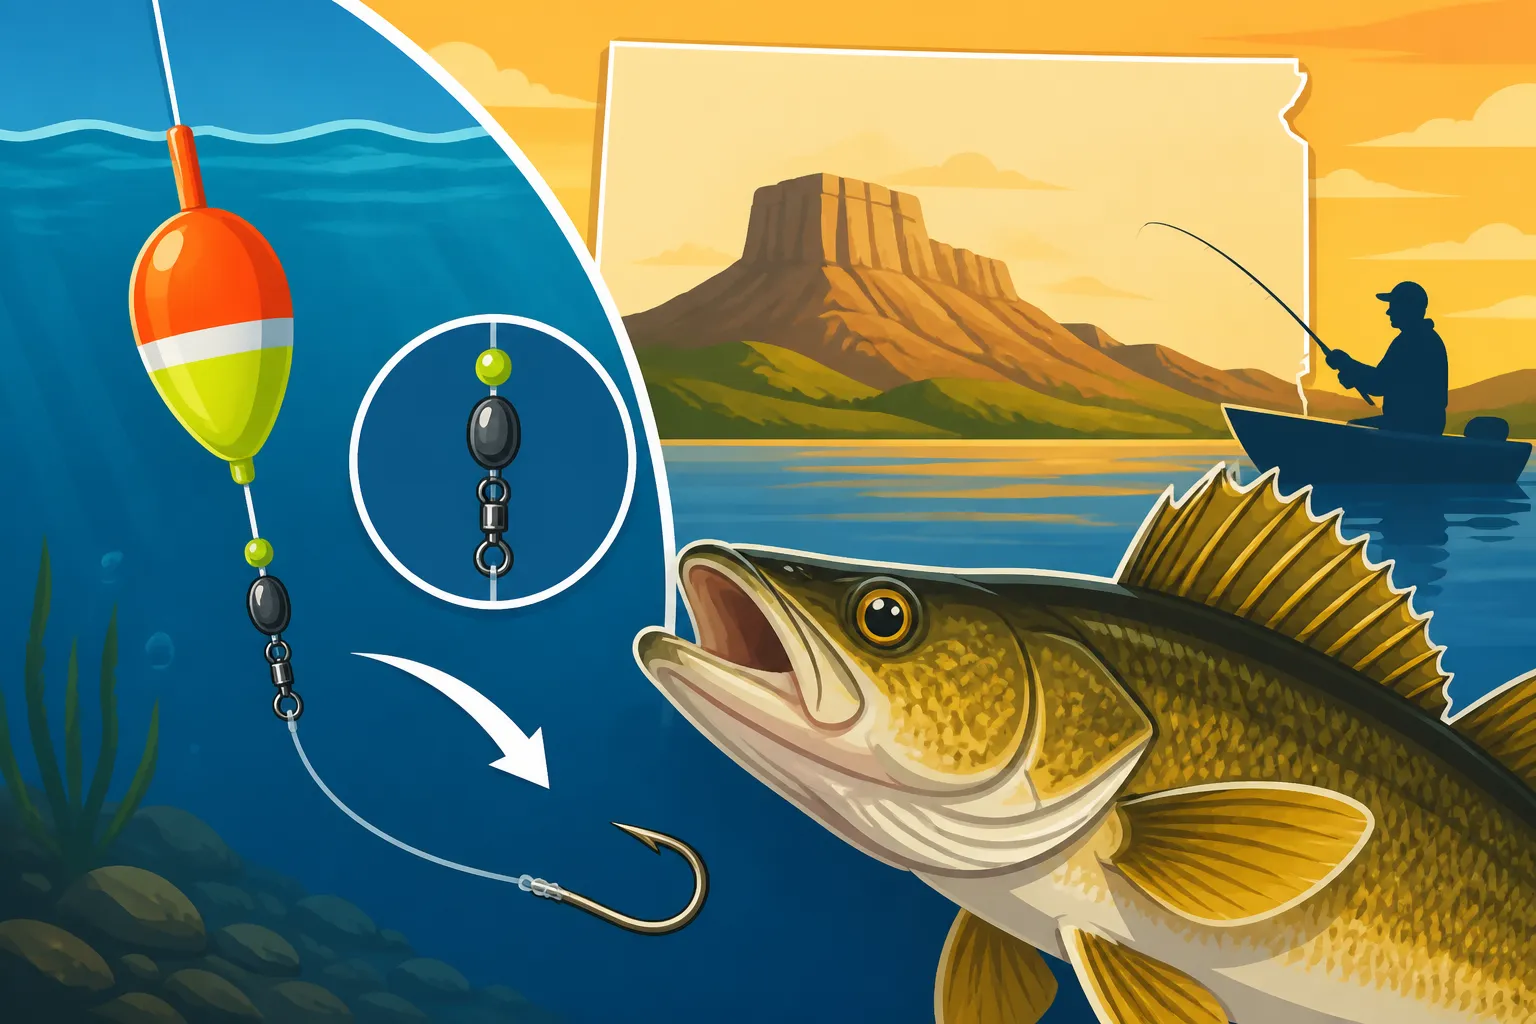
This is where the magic of adjustable depth begins. Take your bobber stopper (the small string knot with a plastic sleeve). Carefully slide your main fishing line through the wire loop on the plastic sleeve. Once your line is threaded through the loop, slide the string knot off the sleeve and onto your main line. Gently pull both tag ends of the string knot to tighten it down onto your line, but don't cinch it so tight that you can't slide it with a bit of effort. You want it firm enough to stay put during casting and retrieving, but adjustable when you need to change depth.
Next, take one of your small plastic beads. Slide this bead onto your main line, making sure it rests directly against your newly tied bobber stopper knot. This bead acts as a buffer, preventing the stopper from pulling through the top hole of your slip bobber when the bait pulls the line down. Without this tiny but mighty bead, your whole system would fail, so don't skip it!
Attaching Your Slip Bobber and Weight
With your bobber stopper and bead in place, it's time to add the star of the show: your slip bobber. Most slip bobbers have a small wire or plastic insert running through the center. Simply thread your main line through this opening, ensuring it slides freely. The bobber should now be on your line, with the bead and stopper knot above it. When you cast, the bobber will slide down towards your terminal tackle. When your bait reaches the chosen depth, the bobber will "slip" up the line until it hits the bead and stopper knot, then float on the surface, indicating your bait's position.
Now for the weight. If you're using a small jig head as your primary weight and hook, you can often skip additional sinkers. However, if you're using a bare hook with live bait, you'll need some split shot sinkers. These are typically placed 12 to 18 inches above your hook. The exact amount of weight depends on the size of your bobber and the liveliness of your bait. You want just enough weight so that your bobber stands upright in the water with only the sensitive tip showing, indicating a delicate balance. Too much weight will pull the bobber under; too little, and it might lay flat, making bites hard to detect and allowing your bait to swim too far from your target depth. This fine-tuning is part of what makes the "How to Read a Fish Finder for Walleye" skill so valuable; it helps you adjust your depth and weight on the fly to match what the fish are doing.
Connecting Your Hook and Bait Presentation
The final step is to tie on your hook or jig and add your bait. If you're using a fluorocarbon leader, tie your main line to one end of a small barrel swivel using a strong knot like a Palomar or improved clinch. Then, tie your fluorocarbon leader to the other end of the swivel. This creates a clean, low-visibility connection and helps prevent line twist. If you're not using a leader, simply tie your hook or jig directly to your main line. Again, a Palomar or improved clinch knot works wonders here.
Your choice of bait is crucial for walleye. Live bait like leeches, nightcrawlers, and minnows are incredibly effective, especially when threaded onto a sharp hook or jig to allow for natural movement. For minnows, hook them lightly through the lips or just behind the dorsal fin. Leeches can be hooked through the suction cup on their tail, and nightcrawlers can be threaded on to leave a lively tail section wiggling. When it comes to "Live Bait vs Artificial Lures for Walleye," for slip bobber applications, live bait often has an edge due to its natural scent and movement, though scented artificial baits like PowerBait or Gulp! can also be very productive.
Once your rig is complete, always test it by dropping it in the water next to your boat. Observe how the bobber sits, how quickly your bait sinks, and if there are any tangles. This simple test can save you a lot of frustration out on the water.
Mastering the Art of Slip Bobber Fishing for Walleye
Rigging your slip bobber is just the first step; truly mastering the technique means understanding how to use it effectively in varying conditions to trick those wary walleye. From setting your depth to recognizing the most subtle bites, there's a nuanced art to it that can significantly boost your success.
Dialing In the Perfect Depth and Location
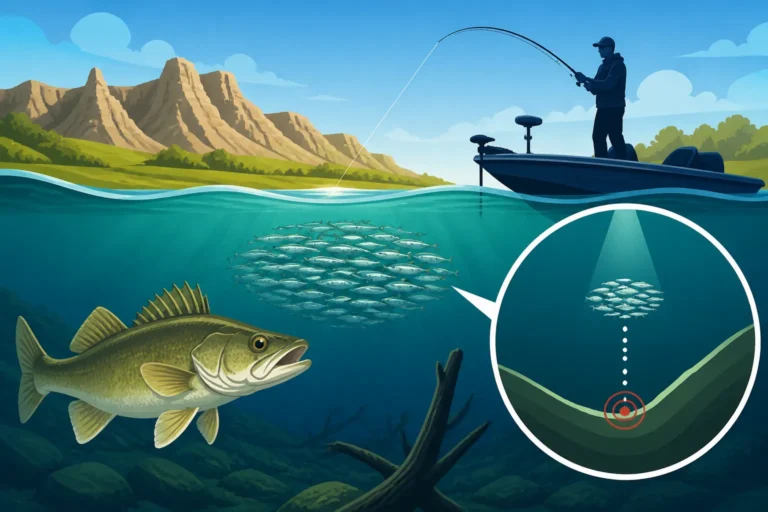
One of the biggest advantages of a slip bobber is its ability to precisely target fish at specific depths. Walleye are often structure-oriented and will hold at consistent depths along drop-offs, humps, or submerged points. Your first step is to use your electronics – a good fish finder is invaluable – to locate schools of baitfish or marks of walleye. Pay close attention to the depth at which they are holding. Many anglers rely on South Dakota Fishing Depth Charts by Season to get a starting point.
Once you have a target depth, adjust your bobber stopper accordingly. It’s often best to start a few feet above the marked fish and gradually lower your bait until you start getting bites. Don't be afraid to experiment! Walleye might be suspended, or they might be belly-to-the-bottom. Wind and current can also affect your bait's presentation, so make small adjustments. For example, if you're fishing on Lake Francis Case, known for its smallmouth bass and walleye, the walleye might be concentrated on a specific ledge at 20 feet, but the current might push your bait slightly off that mark, requiring a depth adjustment to keep it in the strike zone.
Presenting Your Bait Naturally and Detecting Bites
The key to slip bobber fishing is a natural presentation. Your goal is for your bait to hang enticingly at the desired depth, with minimal interference from your line or bobber. Cast your rig gently, allowing it to settle. As the line pulls through the bobber, your bait will slowly descend. This slow, natural fall can often trigger strikes. Once your bait is at depth, watch your bobber like a hawk. Walleye bites can be incredibly subtle.
Sometimes, the bobber will simply "lift" or lay flat as a walleye mouths the bait, relieving the tension. Other times, it might slowly slide sideways, indicating the fish is swimming off with it. The classic "dunk" where the bobber completely disappears is usually a strong bite, but don't wait for it! If you see any unnatural movement – a twitch, a slight dip, or a prolonged sideways drift – it's time to set the hook. A quick, firm sweep of the rod, rather than a violent yank, is often all that's needed to drive the hook home, especially with sharp hooks and low-stretch braided line. Remember, paying attention to the "Best Time of Day to Catch Walleye in Summer" or other seasons can also greatly impact your success.
Troubleshooting Common Slip Bobber Challenges
Even with a perfectly rigged setup, you might encounter some common challenges. Tangles are perhaps the most frequent frustration. These often occur during casting if your line is too slack, or if your leader is too long for your rod. Try to keep a consistent, smooth casting motion. If using braid, a fluorocarbon leader that's no more than your rod length often helps. Wind can also play havoc, creating knots and frustrating twists; consider a slightly heavier bobber or positioning your boat to minimize its impact.
Incorrect weighting is another common issue. If your bobber is lying flat or barely floating, it's either underweighted or your bait is too heavy. If it sinks, it's overweighted. Fine-tune your split shots until only the tip of the bobber remains visible, providing maximum sensitivity. If you're fishing in current, like on the Missouri River, you might need a slightly heavier weight to keep your bait in place, but ensure it doesn't compromise your bite detection. Understanding the South Dakota Fishing Regulations Explained is crucial here, as regulations can dictate things like the number of lines you can use, impacting how many slip bobbers you can have out.
Sometimes, despite your best efforts, the walleye just aren't biting. This is when experimentation becomes key. Change your depth by a foot or two, try a different color jig head, or switch from a minnow to a leech. The walleye's mood can change rapidly, and being adaptable is part of the fun.
Bait Options for South Dakota Walleye with a Slip Bobber
Knowing what to put on the end of your slip bobber rig is just as important as the rig itself. South Dakota walleye have distinct preferences depending on the season and water conditions. Here’s a quick overview of popular and effective bait options:
| Bait Type | Best Season | Advantages | Tips for Rigging/Use |
|---|---|---|---|
| Live Minnows | Spring, Fall, Winter | Natural action, strong scent, visual appeal | Hook lightly through lips or behind dorsal fin. Shiners, fatheads, chubs are popular. |
| Leeches | Spring, Summer | Extremely lively, durable, good in warmer water | Hook through the thick end (suction cup). Stay active on the hook. |
| Nightcrawlers | Summer, Early Fall | Readily available, strong scent trail | Thread onto a worm hook or small jig head, leaving a wiggling tail. |
| Gulp!/PowerBait | All Seasons | Scented, durable, no need for live bait care | Mimic minnows, leeches, or crawlers. Great when live bait is scarce or slow. |
| Small Jigs | All Seasons | Versatile, can be tipped with live bait or plastics | Use small 1/16 to 1/8 oz jigs, tip with a minnow or small plastic grub. |
It's always a good idea to check local regulations and conditions before heading out. Sometimes, specific bait restrictions might apply, especially in trout waters like those in the Black Hills, but for the large walleye lakes, the options above are generally safe bets. And don't forget your South Dakota Fishing License Guide before you even leave the house!
Disclaimer
Fishing regulations and conditions in South Dakota can change. Always consult the latest South Dakota Game, Fish and Parks (GFP) fishing handbook or their official website before heading out on the water to ensure you are aware of all current rules, limits, and advisories, including the South Dakota Walleye Daily Limit. This guide is for informational purposes only and does not supersede official regulations.