How to Choose a Fish Finder for a Reservoir
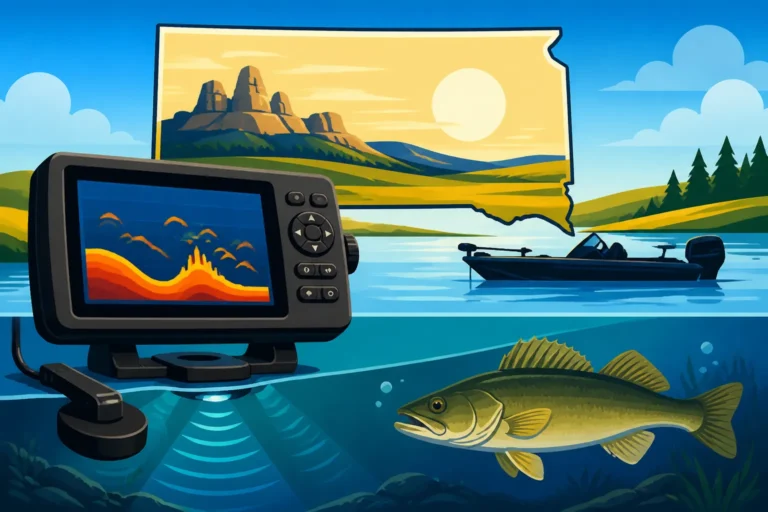
Trying to pick out a new fish finder for your South Dakota reservoir adventures can feel like you’re trying to navigate a maze blindfolded. With so many options out there, all promising to show you where the fish are hiding, it’s easy to get overwhelmed. This guide is here to cut through the confusion, helping you understand what really matters when choosing a fish finder that will give you an edge on sprawling waters like Lake Oahe, Lake Sharpe, or Lake Francis Case.
Understanding Reservoir Challenges for Fish Finders
Fishing South Dakota's vast reservoirs presents unique challenges that are different from smaller lakes or rivers. These massive bodies of water, often formed by damming rivers like the Missouri, have complex underwater topographies. What works well on a small, shallow pond simply won't cut it when you're trying to locate walleye suspended over 50 feet of water or bass hiding in flooded timber. Understanding these challenges is the first step in choosing the right tool for the job.
Variable Depths and Bottom Composition
South Dakota reservoirs are known for their incredible depth variations. One minute you could be cruising over a shallow flat in 10 feet of water, and the next you’re over a river channel plunging down to 60 or even 100 feet. This kind of drastic depth change requires a fish finder that can adapt quickly and maintain clear imagery across a broad range. A unit with a powerful transducer and flexible frequency options will perform much better in these conditions than a basic model.
Moreover, the bottom composition can change just as dramatically. You might encounter hard, rocky points, vast expanses of soft mud, submerged gravel bars, or even old roadbeds and foundations from when the reservoir was first filled. A good fish finder needs to be able to distinguish between these different bottom types, as each can indicate different holding patterns for various fish species. For instance, walleye often relate to harder bottoms, while catfish might prefer softer, muddier areas. Being able to "read" the bottom with your electronics is crucial for finding productive spots.
Navigating Structure and Cover
South Dakota reservoirs are teeming with underwater structure and cover, from submerged trees and brush piles to steep drop-offs, humps, and old creek beds. These are prime locations where fish congregate, seeking shelter, ambush points, or foraging opportunities. A basic 2D sonar might show you a blob, but it won't give you the detail needed to truly understand what you're looking at. You need technology that can render these features with enough clarity to tell a rock pile from a submerged bush, or a tight school of baitfish from a lone lunker.
Think about the Missouri River system reservoirs: Lake Oahe Fishing Guide, Lake Sharpe Fishing Guide, and Lake Francis Case Fishing Guide. Each has unique structural elements, often leftovers from the pre-dam landscape. Identifying these nuances can be the difference between a frustrating day and a successful outing. Your fish finder should act as your underwater eyes, helping you map out these hidden treasures and present your bait with precision. Without the ability to pinpoint these structures, you're essentially just casting blind, hoping for the best.
Dealing with Thermoclines and Water Clarity
Reservoirs can develop distinct thermoclines, which are layers of water at different temperatures. Many fish species, especially walleye and smallmouth bass, will orient themselves to these thermoclines, finding their preferred temperature and oxygen levels. A good fish finder can help you identify these layers, giving you a critical clue about the depth at which fish are likely to be active. Without this insight, you might be fishing above or below the strike zone, wondering why you’re not getting bites.
Water clarity in South Dakota reservoirs can also vary significantly. Early spring runoff might lead to stained or turbid water, while late summer can bring clearer conditions, especially in deeper sections. Your fish finder needs to perform well regardless of clarity. Some technologies are better at cutting through murk, while others excel at pinpointing individual fish in clear water. Understanding how your unit's frequencies and power output interact with water clarity can help you adjust your settings for optimal performance.
Key Fish Finder Technologies for Reservoir Anglers
The world of fish finders has evolved dramatically, offering anglers a suite of technologies designed to paint a clearer picture of the underwater world. For reservoir fishing, certain technologies stand out as particularly valuable. Choosing the right combination can significantly enhance your ability to locate and catch fish.
Traditional Sonar and CHIRP
Traditional 2D sonar is the foundation of every fish finder, sending a cone-shaped sound wave into the water and displaying returns as arches (fish) or structures. While effective, it can struggle with target separation and clarity, especially in deeper water or dense cover. This is where CHIRP sonar comes in, a game-changer for serious anglers. CHIRP (Compressed High-Intensity Radiated Pulse) sends a continuous sweep of frequencies, from low to high, instead of a single frequency burst.
This broader range of frequencies, processed by the fish finder, provides much more detail and clarity. You'll see better target separation, meaning individual fish in a school are more distinct, and you can differentiate fish from structure more easily. For reservoir fishing, where fish can be scattered or tightly schooled in deep water, CHIRP is invaluable. It helps you pick out those subtle differences that a traditional sonar might miss, revealing not just if fish are there, but how they're relating to the bottom or structure. This technology truly elevates your ability to interpret the underwater scene and is a must-have for targeting species like walleye.
Down Imaging and Side Imaging
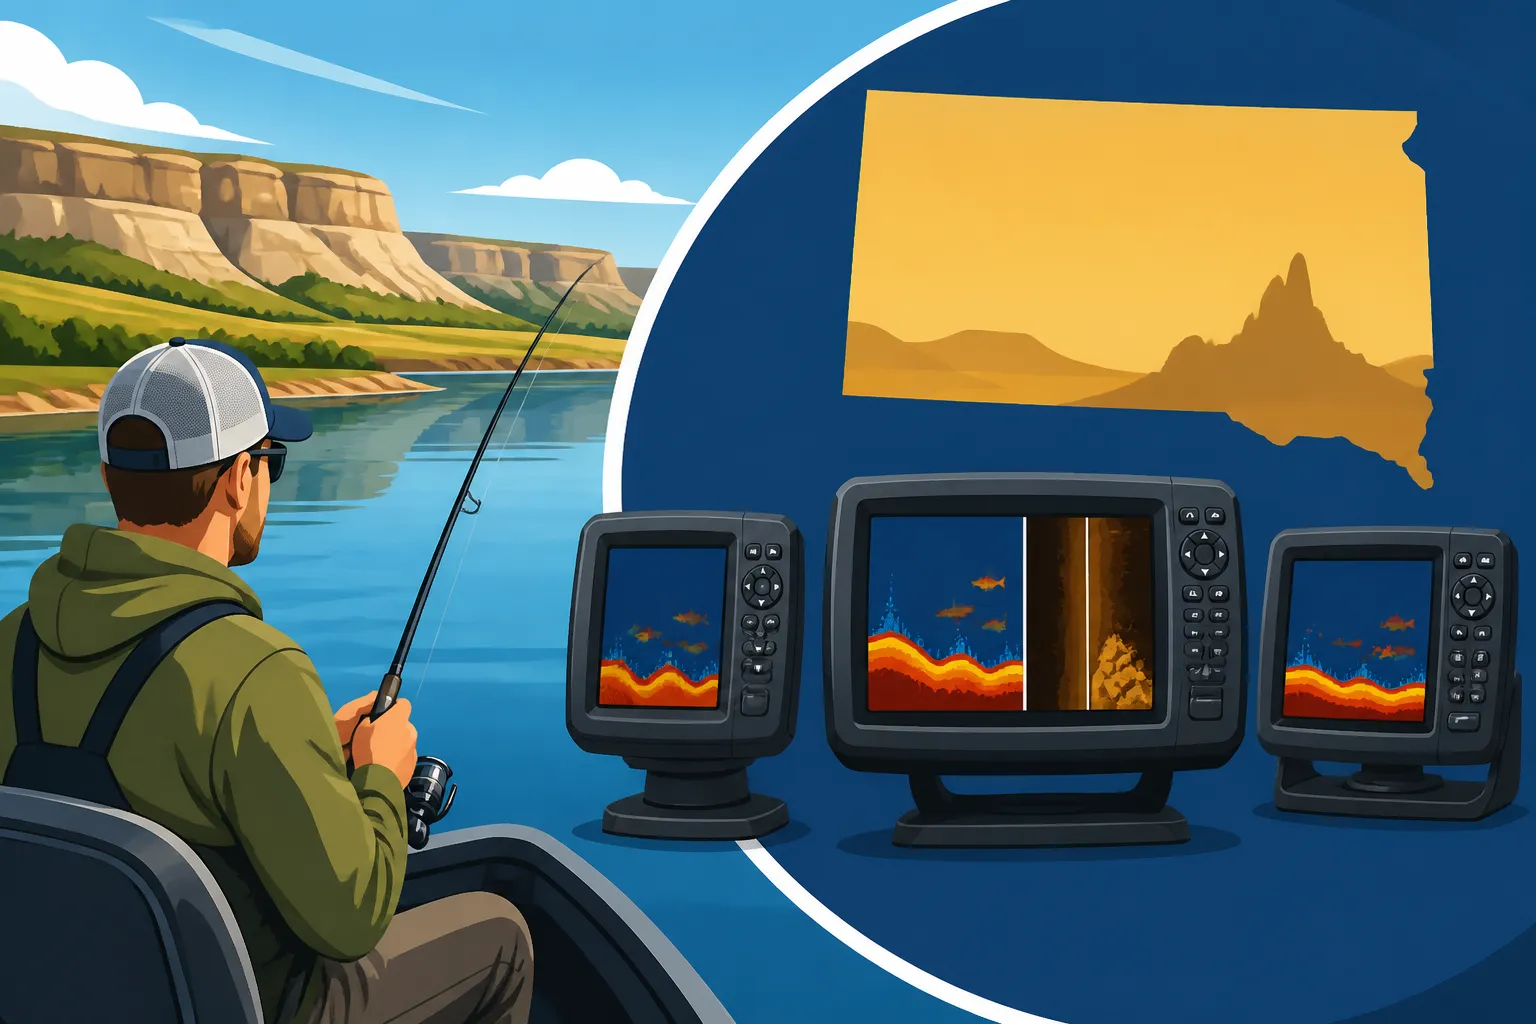
If traditional 2D sonar gives you a "blob" or an "arch," Down Imaging and Side Imaging give you a photographic-like view of what's beneath and to the sides of your boat. These technologies use high-frequency sonar beams that are much thinner, almost like a fan, to create incredibly detailed images.
Down Imaging (often called DownScan or ClearVü) shoots directly below your boat, providing a picture that looks almost like an underwater photograph. You can clearly see submerged trees, rock piles, brush, and even individual fish with incredible detail. This is fantastic for identifying exactly what kind of structure you’re fishing over and how fish are positioned within it. If you’re trying to dissect a specific point or a sunken boat, Down Imaging makes it plain as day.
Side Imaging (or SideScan/SideVü) takes it a step further, sending beams out to the sides of your boat, covering a much wider area. This allows you to "scan" large sections of water quickly, locating structure, cover, and schools of fish off to your left or right without having to drive directly over them. Imagine cruising along a shoreline on Lake Sharpe and seeing a brush pile 50 feet to your left, complete with fish holding tight to it. Side Imaging is a massive time-saver for searching large reservoirs, helping you find productive areas much faster and more efficiently. For anglers seeking to master South Dakota Missouri River Fishing Techniques, these imaging technologies are indispensable.
GPS and Mapping Capabilities
A fish finder isn't just about finding fish; it's about finding and remembering where you found them. That's where integrated GPS and mapping capabilities become non-negotiable for reservoir fishing. These systems allow you to mark waypoints for productive spots, follow detailed contour maps, and navigate safely across vast expanses of water.
High-definition lake maps, often preloaded or available for purchase, provide incredible detail about underwater contours, river channels, humps, and drop-offs. Being able to see a precise map overlayed with your boat's position allows you to run specific contour lines, target structure that isn't visible from the surface, and return to those fish-holding areas time and time again. Many units also offer charting programs that allow you to create your own custom maps, which can be particularly useful on less-charted bodies of water or for pinpointing subtle structural changes.
For safety and efficiency, a robust GPS system is crucial. Not only does it get you to your spot, but it helps you avoid hazards, especially in low light or foggy conditions. When you're fishing a huge reservoir like Lake Oahe, knowing exactly where you are and where you're going prevents wasted time and potentially dangerous situations. Modern units even offer features like auto-charting, which can build and refine your maps as you drive, constantly improving your understanding of the underwater landscape.
Factors to Consider When Selecting Your Fish Finder
With all these fantastic technologies available, how do you choose the right fish finder for you and your South Dakota reservoir fishing adventures? It really comes down to a blend of performance, usability, and budget.
Screen Size and Resolution
This is a critical factor often underestimated. A larger screen with higher resolution makes a world of difference when interpreting complex sonar images. Trying to decipher detailed Side Imaging or differentiate fish from cover on a small, low-resolution screen can be incredibly frustrating. Think of it like looking at a photograph – the bigger and clearer the image, the more detail you can pick out.
For serious reservoir fishing, aim for a screen size of at least 7 inches, but 9 inches or larger is often preferred, especially if you plan to use split-screen views (e.g., 2D sonar on one side, Side Imaging on the other, and a map on a third). Higher resolution (more pixels) means sharper images and better detail, allowing you to clearly see those subtle nuances that indicate fish presence or valuable structure. While larger screens cost more, the enhanced visibility and ease of interpretation are well worth the investment for the serious angler.
Transducer Placement and Type
The transducer is the "eye" of your fish finder, sending and receiving the sonar signals. Its quality and how it's mounted are paramount to getting clear readings. For reservoir fishing, you'll want a powerful transducer, often multi-frequency, capable of providing detailed returns in both shallow and deep water.
Common mounting options include transom mounts, through-hull mounts, and trolling motor mounts. Transom mounts are popular and generally easy to install, but they can be susceptible to cavitation (air bubbles disrupting the signal) at higher speeds. Through-hull transducers offer the cleanest signal but require drilling a hole in your boat. Trolling motor transducers are excellent for getting clear readings at slow speeds, especially when using your trolling motor to pinpoint structure or follow contour lines. Many advanced units come with "all-in-one" transducers that combine 2D, Down Imaging, and Side Imaging capabilities, simplifying installation and ensuring all technologies work seamlessly together. Make sure the transducer you choose is robust enough to handle the varied conditions of large reservoirs.
Power Output and Frequency
The power output (measured in Watts RMS) of a fish finder dictates how deep and how clearly it can "see." Higher wattage generally means better depth penetration and the ability to get clearer returns in deeper water and through more cluttered water columns. For deep South Dakota reservoirs like Lake Oahe, a higher power output is definitely an advantage.
Frequency, measured in kilohertz (kHz), also plays a crucial role.
- Low frequencies (e.g., 50 kHz) penetrate deeper and cover a wider cone, but offer less detail. They are good for deep-water searching.
- High frequencies (e.g., 200 kHz, 455 kHz, 800 kHz, 1.2 MHz) provide much finer detail and better target separation, but don't penetrate as deep and have a narrower cone. These are excellent for identifying structure and fish in shallower to moderate depths, and are essential for Down and Side Imaging.
Many modern fish finders, especially CHIRP units, use a wide range of frequencies or multiple frequencies simultaneously. This versatility allows the unit to optimize its signal for different depths and conditions, giving you the best possible view of the underwater world. When looking at specifications, ensure the unit offers a good range of frequencies to tackle both shallow bays and deep river channels.
| Feature Area | Basic Fish Finder (Limited Reservoir Use) | Mid-Range Fish Finder (Good Reservoir Use) | High-End Fish Finder (Excellent Reservoir Use) |
|---|---|---|---|
| Sonar Technology | Traditional 2D Sonar | CHIRP 2D Sonar, Basic Down Imaging | CHIRP 2D Sonar, Advanced Down/Side Imaging |
| GPS/Mapping | Basic GPS, limited mapping | Detailed GPS, preloaded standard maps | High-precision GPS, detailed mapping, custom map creation |
| Screen Size | 4-5 inches | 7-8 inches | 9-12+ inches |
| Resolution | Low (e.g., 480×272) | Medium (e.g., 800×480) | High (e.g., 1024×600+) |
| Power Output | Low (e.g., 200-500W RMS) | Medium (e.g., 500-1000W RMS) | High (e.g., 1000W+ RMS) |
| Transducer | Single frequency, transom mount | Multi-frequency, transom/trolling motor | All-in-one multi-frequency, various mounts |
| Networking | None | Limited | Full networkability (multiple screens, radar, etc.) |
Budget and Brand Reputation
Let's be realistic, fish finders can be a significant investment. Prices can range from a couple of hundred dollars for basic models to several thousand for top-tier networked systems. It's important to set a budget that makes sense for your fishing frequency and seriousness. While it’s tempting to go for the cheapest option, remember that the frustration of poor performance can quickly outweigh any initial savings.
Leading brands in the industry have earned their reputation for a reason. Companies like Humminbird, Lowrance, Garmin, and Raymarine consistently deliver reliable, feature-rich products. When you're ready to make a purchase, whether you're browsing the aisles at a local Bass Pro Shops or exploring options online through Amazon, look for reviews and comparisons of different models. Consider what other anglers who fish similar reservoirs say about their units. Often, investing in a slightly more expensive model from a reputable brand will save you headaches and actually enhance your fishing experience in the long run. Don't forget to factor in any additional costs like map upgrades or specialized transducers.
Practical Tips for Maximizing Your Reservoir Fish Finder
Getting a great fish finder is only half the battle. To truly unlock its potential on South Dakota reservoirs, you need to know how to use it effectively. It's not just a fancy display; it's a powerful tool that requires a bit of learning and practice.
Learning to Read Your Display
This might sound obvious, but many anglers don't take the time to truly understand what their fish finder is showing them. Every "arch," "blob," or "line" on the screen tells a story. Learning to differentiate between baitfish and game fish, understanding how structure appears on 2D versus Down Imaging, and identifying changes in bottom hardness are crucial skills. Many units offer a "simulator" mode that allows you to practice reading the screen without being on the water. Spend time with your owner's manual and online tutorials. The more proficient you become at interpreting the data, the more fish you'll find.
For example, on 2D sonar, a strong, thick arch usually indicates a larger fish directly under your boat, while smaller, broken arches might be baitfish or smaller game fish. On Down Imaging, fish often appear as bright white dots or "chunks" near structure. Understanding the color palette and sensitivity settings will also significantly impact what you see. Don't be afraid to adjust these settings on the water to get the clearest possible picture. For specific guidance, checking out resources like How to Read a Fish Finder for Walleye can be incredibly beneficial.
Customizing Settings for Different Conditions
Your fish finder isn't a "set it and forget it" device. Reservoir conditions change constantly – depth, water clarity, wind, current, and target species all play a role in how your unit performs best. Learning to adjust settings like sensitivity, contrast, noise rejection, and frequency will dramatically improve your results.
For example, in deep water, you might need to increase sensitivity and lower your frequency to get better depth penetration. In shallow, weedy areas, you might want to increase frequency and reduce sensitivity to cut through the clutter. If you're Trolling for Walleye on Lake Oahe, your settings for speed and gain might be different than if you're jigging for Winter Walleye Fishing Techniques. Many modern fish finders have auto modes that do a decent job, but fine-tuning these settings manually will almost always give you a superior image. Experiment with your unit throughout the day and in different locations on the reservoir to find what works best.
Pairing with a Good Map
As mentioned earlier, GPS and mapping are critical, but having a good map and knowing how to use it in conjunction with your sonar is paramount. Whether it's a preloaded C-MAP, LakeMaster, or Navionics chart, these detailed maps are your roadmap to underwater structure. Use your GPS to navigate to promising areas identified on the map, then use your sonar (Down and Side Imaging) to meticulously search those locations.
Mark waypoints for every productive spot – brush piles, rock transitions, humps, or even schools of baitfish. These waypoints become your personal fishing library, allowing you to return to hot spots quickly. Some anglers even use their units to create their own custom maps in real-time as they drive, giving them hyper-accurate contour lines of their favorite fishing grounds. This combination of detailed mapping and advanced sonar will make you much more efficient at finding fish, whether you're looking for South Dakota Walleye Fishing Guide areas or chasing smallmouth bass in rocky coves.
Disclaimer
This article is for general informational purposes only and does not constitute professional advice. Laws, prices and regulations vary by location and change over time. Consult a qualified professional for guidance on your specific situation.