Best Way to Fillet a Northern Pike Around the Bones
Oh, the mighty Northern Pike! What a thrill they are to catch in the diverse waters of South Dakota, from the glacial lakes to the Missouri River. But let's be honest, the excitement often takes a nosedive once you get them home and remember that infamous, bony challenge: the Y-bones. It’s a common frustration for so many anglers, but don't you worry – this guide is going to walk you through the "five-fillet" method, a technique that truly transforms your pike into delicious, boneless table fare, making all that effort on the water truly worth it.
The Northern Pike Filleting Challenge: Why It's Different
If you’ve ever tried to fillet a beautiful Northern Pike like you would a walleye or a bass, you've probably ended up with a mess of wasted meat or, even worse, a plate full of tiny, annoying bones that make dinner more of a chore than a pleasure. It’s not your fault; pike are just built differently, and understanding that is the first step to conquering them.
Understanding the "Y-Bones"
The biggest hurdle with Northern Pike is their unique skeletal structure, specifically the "Y-bones" (also known as "epipleural bones" if you want to get technical, but Y-bones is way more descriptive!). These aren't like the simple pin bones you might find in a salmon, which run in a single line and are relatively easy to pull out. Northern Pike have a complex set of these Y-shaped bones running along the lateral line of their back, deep within the muscle tissue. Each "Y" has two arms that branch out, making them incredibly difficult to remove cleanly if you're not specifically cutting around them.
Imagine trying to navigate a tiny, intricate bone forest with your fillet knife – that's what it feels like if you don't know the secret. These bones are prevalent in the upper half of the pike's body, especially towards the head and mid-section, tapering off as you get closer to the tail. They are a defining characteristic of pike and their close relatives, and they are the reason many anglers simply release pike or even shy away from targeting them for the dinner table. It’s a shame, because boneless pike, when prepared correctly, is incredibly tasty!
The Frustration of Standard Filleting Methods
Many anglers come from a background of filleting fish like walleye, crappie, or even panfish, where a simple two-fillet method (one per side, then skin off) works beautifully. You make a cut behind the gill plate, run your knife down the backbone, and then carefully slice the fillet off the skin. Easy, right?
With a Northern Pike, attempting this standard method is where the frustration truly sets in. You’ll get a beautiful-looking fillet off the backbone, but then, as you try to cook it, you'll feel those sharp, persistent Y-bones. Trying to pick them out with tweezers is a tedious, often futile task, as they're embedded deeply and at odd angles. Many folks give up, thinking pike are just "too bony" to eat. They might throw away perfectly good meat because they can't manage the bones, or they'll painstakingly try to debone it, only to find countless little pieces they missed. It's a waste of a great fish and your precious time. The good news is, there's a specialized technique that makes all the difference, and it’s not nearly as complicated as it sounds once you get the hang of it.
The "Five-Fillet" or Y-Bone Method: A Step-by-Step Guide
This method might sound a bit more involved than your typical two-fillet approach, but trust me, it’s far less work in the long run than trying to debone cooked fish or dealing with wasted meat. It breaks the pike's side into separate, boneless sections, giving you clean, delicious strips ready for the pan.
Essential Tools for the Job
Before you even think about putting a knife to fish, make sure you have the right setup. A sharp knife is non-negotiable for safety and efficiency. Dull knives slip, and that's when accidents happen.
- Sharp Fillet Knife: This is your primary tool. A flexible, sharp fillet knife (around 6-9 inches) is ideal. I personally like knives with a good grip, even when wet. You can find excellent options on Amazon that hold an edge well and fit comfortably in your hand.
- Sturdy Cutting Board: A large, stable cutting board is a must. You don't want your fish sliding all over the counter. Some boards have channels to catch juices, which is a nice bonus.
- Fish Gripper or Towel: Pike can be a bit slimy, so having a good grip on the fish is crucial. A dedicated fish gripper or even just a clean, dry towel will help you maintain control as you make your cuts.
- Cooler with Ice: As soon as you're done filleting, you'll want to get those beautiful fillets on ice or into the fridge. Freshness is key!
Initial Fillet Cuts (Removing the Sides)
This first part of the process is pretty standard, much like filleting any other fish. The goal is to separate the entire side of meat from the backbone, leaving the rib cage attached for now.
- First Cut Behind the Gill Plate: Lay the pike flat on its side. Make a deep, angled cut just behind the gill plate, going down until you feel the backbone. Don't cut through the backbone yet.
- Cut Along the Top of the Backbone: Turn your knife blade so it's parallel to the backbone. With gentle, steady pressure, run your knife along the top of the backbone, from your initial cut all the way back to the tail. You're trying to separate the meat from the spine. This creates your "top" fillet.
- Cut Along the Rib Cage: Now, angle your knife downwards and follow the curve of the rib cage, separating the bottom portion of the fillet from the ribs. Again, cut all the way back to the tail. At this point, you should have a single, large fillet (ribs still attached) connected only by the skin at the tail.
- Flip and Repeat: Carefully flip the pike over and repeat these steps on the other side. Now you have two large fillets, still connected at the tail, with their rib cages attached. Many people find it easier to work with the fish whole for these initial cuts, then separate the fillets for the Y-bone removal.
Isolating and Removing the Y-Bones
This is the clever part, where the "five-fillet" magic truly happens. You're going to make strategic cuts to leave those pesky Y-bones behind.
- Lay Fillet Skin-Side Down: Take one of your large fillets and lay it skin-side down on your cutting board. The rib cage should be facing up.
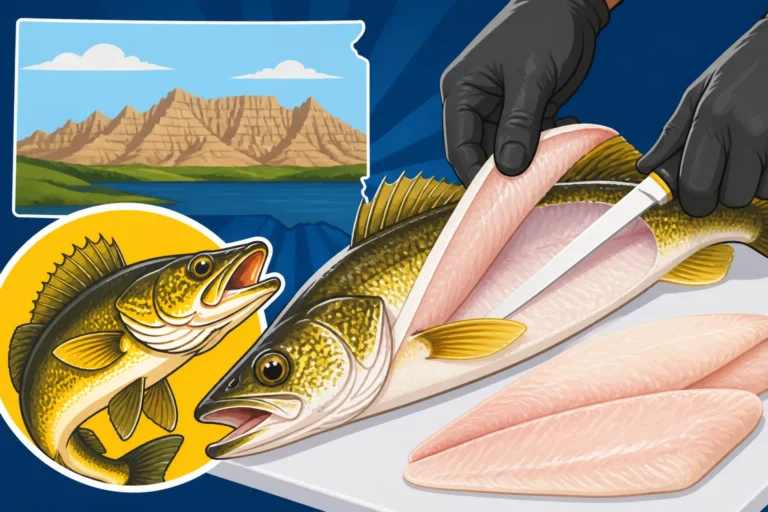
- Remove the Ribs: First, let's get rid of those standard ribs. Insert your knife blade under the ribs at the forward end of the fillet. Angle your knife slightly upwards and carefully slice along the bone line, removing the entire rib cage section. This section is usually boneless and can be kept as a separate, smaller fillet (that's one of your five!).
- Identify the Y-Bone Line: Now you’re left with the main body of the fillet. Imagine a line running roughly down the center of the fillet, from the head end (where the Y-bones are most concentrated) down towards the tail. This is roughly where the tips of those Y-bones protrude into the meat.
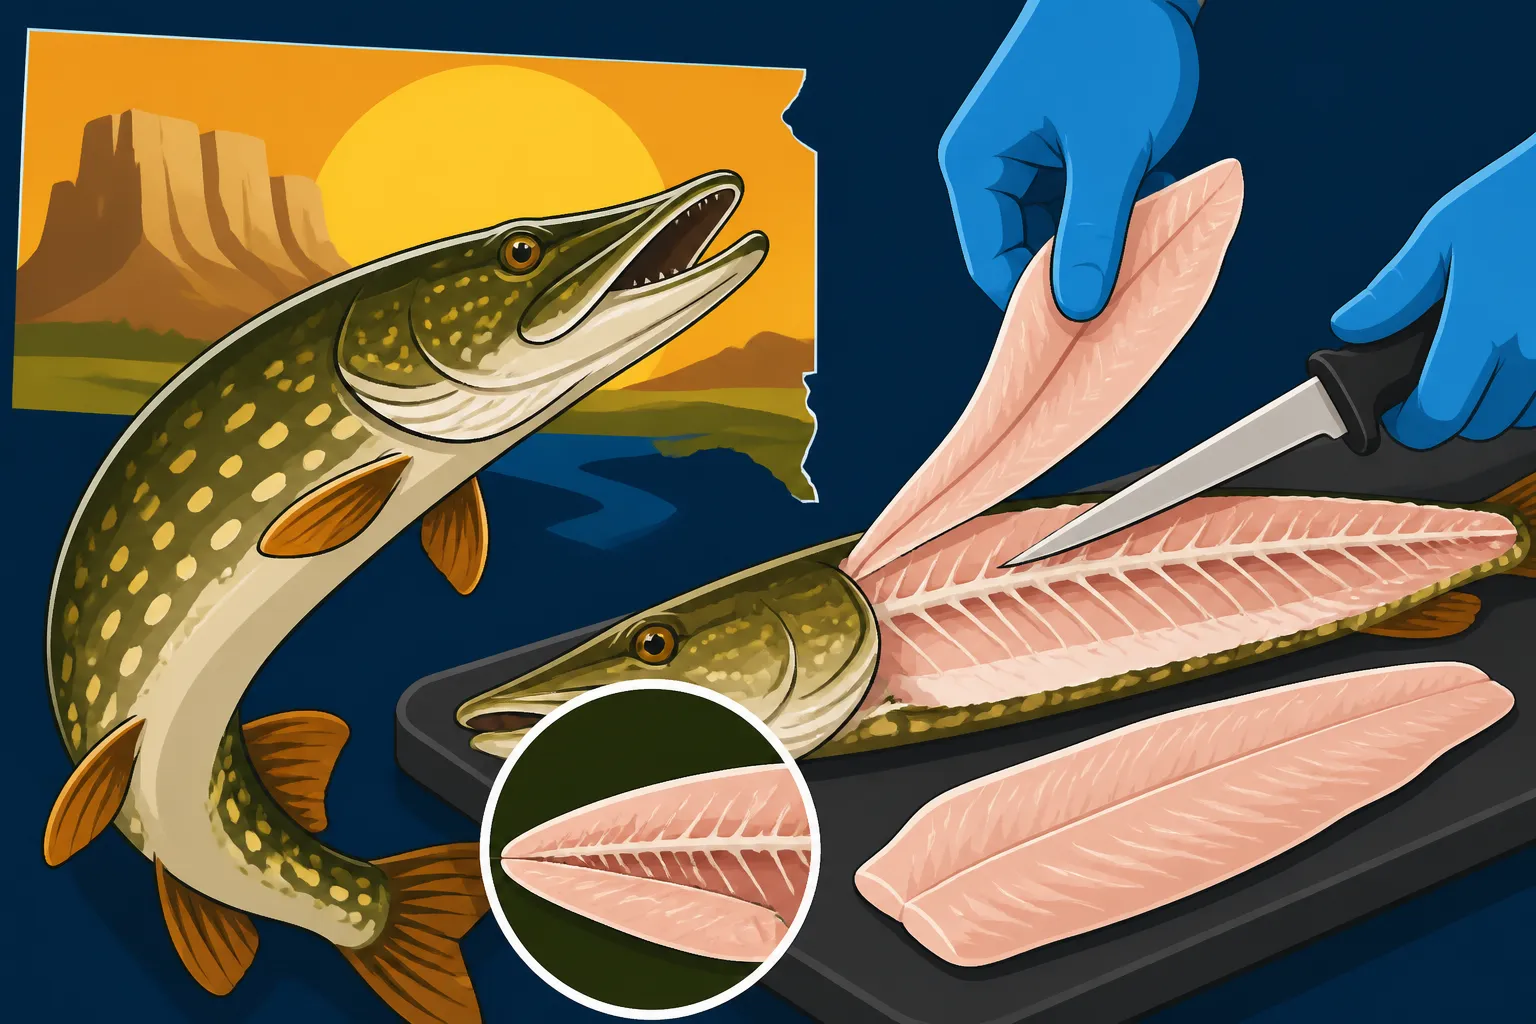
- The "Top" Loin Cut: Make a cut above this imaginary Y-bone line. Start from the head-end of the fillet, just above where you imagine the Y-bones begin, and slice downwards towards the tail, staying parallel to the backbone side of the fillet. You want to cut down until you hit the backbone (if still attached) or the central "bone plate" where the Y-bones originate. Then, turn your knife and run it along that plate, separating the upper, boneless loin strip. This is often the thickest, meatiest, and completely boneless portion of the pike. This is your second fillet.
- The "Bottom" Belly Strip Cut: Now, on the remaining portion of the fillet, you'll make another cut below the Y-bone line. This cut will run from the head end, alongside where you removed the ribs, and then meet up with the central bone plate as you did with the upper loin. You're essentially cutting out a boneless strip from the belly section, leaving the Y-bone section in the middle of the original fillet. This is your third fillet.
After these cuts, you’ll be left with three distinct pieces from one side of the fish: a boneless upper loin, a boneless lower belly strip, and a central piece that contains the Y-bones. Discard the Y-bone section.
Repeat this entire process (rib removal, upper loin cut, lower belly strip cut) for the other side of the fish. This gives you two upper loins, two belly strips, and two small rib fillets (if you keep them), hence the "five-fillet" or even "six-fillet" name!
It might sound complicated, but once you do it a few times, it becomes intuitive. Just remember, your goal is to cut around the Y-bones, not through them. How Many Bones Are in a Northern Pike Fillet really highlights why this method is so crucial for pike specifically.
Skinning Your Boneless Pike Fillets
Now that you have these lovely, boneless pieces of pike, the final step is to remove the skin. This is the same process as with most other fish fillets.
- Lay Fillet Skin-Side Down: Place one of your boneless strips (loin or belly) skin-side down on your cutting board.
- Grip the Tail End: Grab the tail end of the fillet firmly with your non-knife hand. If it's slippery, a paper towel helps a lot.
- Angle Your Knife: Insert your fillet knife blade at a shallow angle between the meat and the skin, very close to the tail end. Make sure the blade is angled slightly downwards towards the skin, so you're not cutting into the meat.
- Sawing Motion: While maintaining firm pressure on the skin with your non-knife hand, use a slight sawing motion with your knife, pushing the blade forward. Keep the blade flat against the skin as you work your way from the tail towards the head. The skin should peel away cleanly, leaving you with a beautiful, pristine, boneless fillet.
- Repeat for All Fillets: Do this for all the boneless strips you've created. You'll be amazed at the clean, white meat you have!
| Method | Resulting Fillets Per Side | Bone Content | Complexity | Yield | Ideal For |
|---|---|---|---|---|---|
| Standard Fillet (Pike) | 1 large fillet | High (Y-bones) | Easy initial | Low boneless | Not recommended for eating |
| Y-Bone (Five-Fillet) | 2-3 boneless pieces | Boneless | Moderate | High boneless | Eating pike, avoiding bones |
Tips for Success and Enjoying Your Boneless Pike
Mastering the Y-bone method takes a little practice, but the reward is truly worth it. Don't get discouraged if your first few attempts aren't perfect; every cut is a learning experience.
Practice Makes Perfect (and Patience Helps)
Just like learning Northern Pike Fishing Techniques for Weed Lines or mastering the art of the perfect cast, filleting a pike cleanly is a skill. Your first pike might be a bit messy, and that's totally okay. Don't be afraid to take your time. Go slow, feel for the bones with your knife, and adjust your angle. The more pike you clean, the more intuitive the cuts will become.
If you can, try to practice on a few smaller pike first. They're a bit easier to handle, and you can get the hang of the cuts before tackling a trophy-sized fish. Soon enough, you'll be filleting pike with confidence and efficiency, making you the hero of every fishing trip when it comes to preparing the catch! Remember to keep that knife sharp – it truly makes all the difference.
Maximizing Your Yield and Minimizing Waste
The beauty of the five-fillet method is that it significantly increases your usable, boneless meat yield from a Northern Pike. You're not just getting two bony sides; you're getting multiple strips of pure goodness.
- Don't Discard the Belly Strips: Those smaller, thinner belly strips are perfectly good eating! They might be a bit fattier, but they cook up deliciously.
- Fish Stock: Even after you've taken your boneless fillets, the remaining carcass (head, backbone, Y-bone section) can be fantastic for making fish stock. It adds incredible flavor to soups and sauces, minimizing waste and making the most of your catch.
- Look for Are Northern Pike Found in Most South Dakota Lakes?: Understanding pike distribution can help you target areas for more frequent practice, giving you more opportunities to hone your filleting skills.
Delicious Ways to Prepare Boneless Pike
Once you have your beautiful, boneless pike fillets, a world of culinary possibilities opens up! Pike has a firm, white, somewhat flaky meat with a mild, slightly sweet flavor. It holds up well to various cooking methods.
- Pan-Fried: A classic choice. Dredge your fillets in seasoned flour or a breadcrumb mixture and pan-fry them until golden brown and cooked through. Serve with a squeeze of lemon and tartar sauce.
- Baked: For a healthier option, bake the fillets with butter, herbs, and a touch of white wine.
- Grilled: If you're looking for a smoky flavor, marinate the fillets briefly and grill them over medium heat. The firm texture prevents them from falling apart on the grates.
- Fish Tacos: Cut the fillets into strips, season, and pan-fry or grill. Serve in warm tortillas with your favorite toppings like shredded cabbage, pico de gallo, and a creamy sauce.
Pike is incredibly versatile, and knowing you’ve completely removed those bothersome Y-bones means you can truly enjoy every single bite without a care in the world. It’s a game-changer for anyone who loves to fish for this powerful predator. Don't forget to check out South Dakota Northern Pike Fishing Guide for more tips on catching these great fish before you bring them home!
Disclaimer
This article is for general informational purposes only and does not constitute professional advice. Laws, prices and regulations vary by location and change over time. Consult a qualified professional for guidance on your specific situation.