How to Maintain an Outboard Motor Between Trips
Oh, the joy of hitting the water in South Dakota! There's nothing quite like launching your boat onto Lake Oahe or navigating the calmer stretches of the Missouri River, feeling that powerful outboard motor hum as you head to your favorite fishing spot. But let's be real, that feeling can quickly turn to frustration if your motor decides to act up. Nothing sours a planned trip faster than a sputtering engine or a no-start situation at the ramp. This guide is all about giving you the practical, no-nonsense tips you need to keep your outboard running smoothly, ensuring more time on the water and less time wrestling with repairs between those precious fishing adventures.
The Basics of Post-Trip Outboard Care
You've had a fantastic day out, maybe you landed a few nice walleye or battled some feisty smallmouth bass, and now you're back at the dock. The last thing you probably want to do is more work. But trust me, taking just a few minutes after each trip to give your outboard some love can save you hours of headaches and costly repairs down the line. It's like cooling down after a good workout – essential for long-term health.
Flushing Your Motor After Every Outing
This is probably the single most important thing you can do for your outboard motor between trips, especially if you're fishing on varied South Dakota waters. Whether you've been on the silty, current-rich Missouri River system or a pristine glacial lake, flushing helps remove mineral deposits, salt (if you've ventured into brackish waters, though less common in SD), sand, and any other gunk that can build up inside your cooling system. Think of it as rinsing out your coffee maker; you wouldn't just leave it until the next use, right?
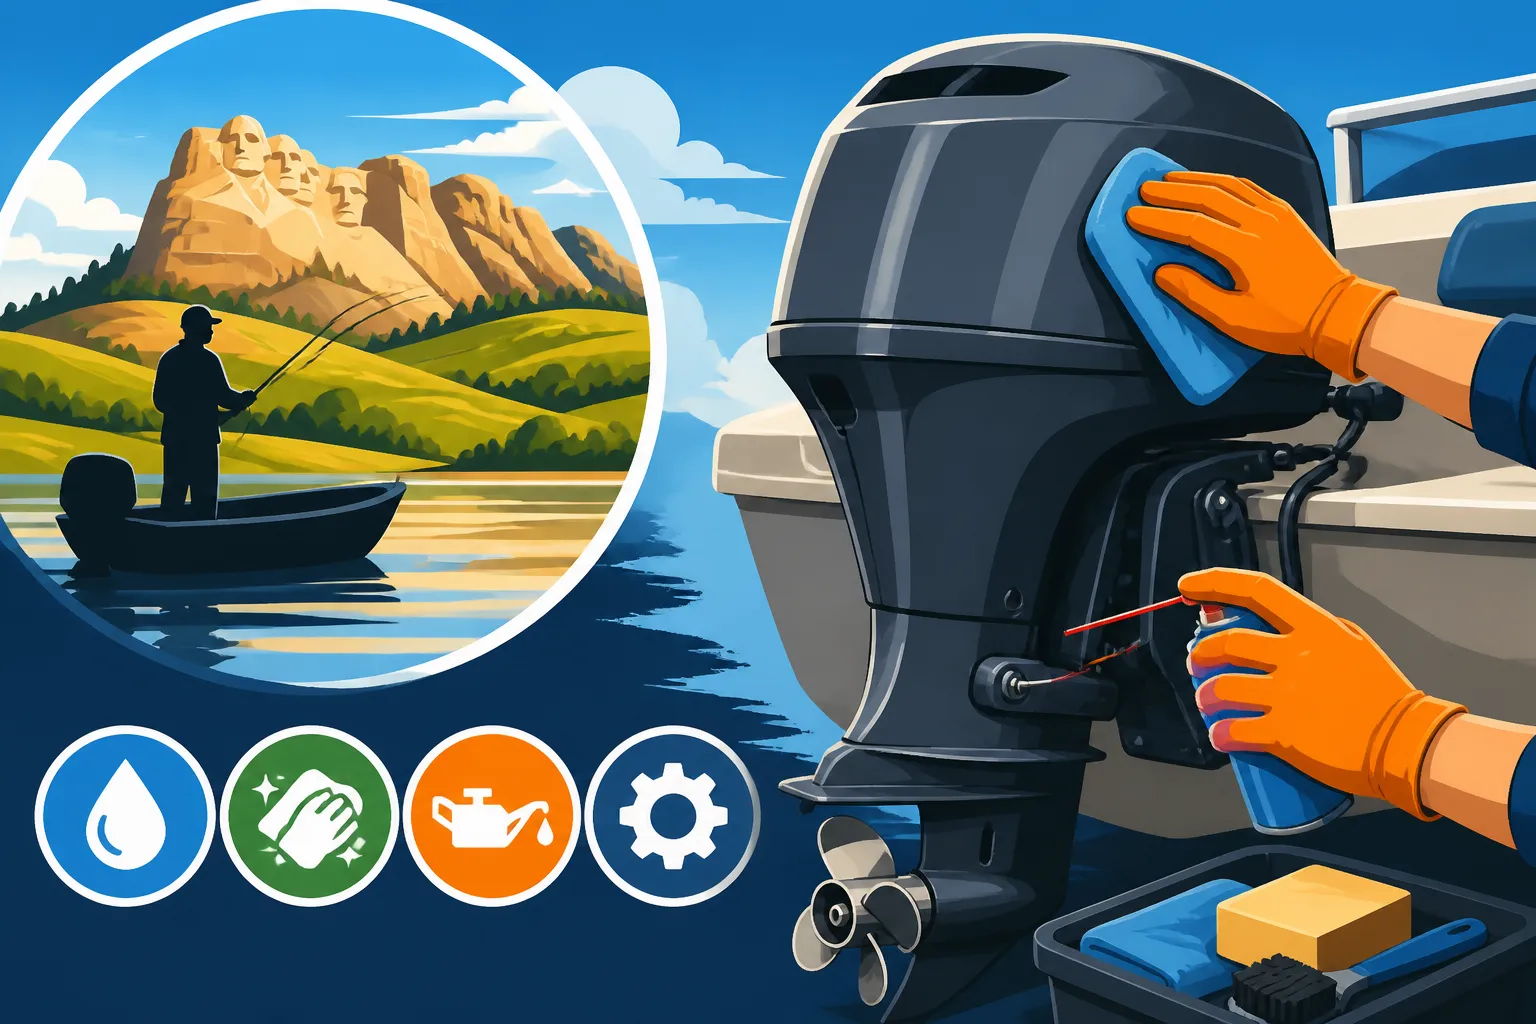
The process is straightforward: once your boat is out of the water, attach a set of "flush muffs" to the lower unit's water intake ports. Connect a garden hose, turn on the water, and then briefly start your engine. Let it run for about 5-10 minutes at a low idle, watching for a steady stream of water from the tell-tale indicator (the little pee-hole). This ensures water is circulating properly. If you don't see that stream, stop the engine immediately and check for blockages. Neglecting to flush can lead to corrosion in the cooling passages, overheating, and eventually, a seized engine. It's a quick, easy step that drastically extends your motor's life. This simple habit is crucial, whether you're planning for South Dakota Fishing License Guide adventures or just a quiet afternoon on a local pond.
Visual Inspection for Wear and Tear
Before you tuck your boat away, give your outboard a good visual once-over. This isn't just about spotting major damage; it's about catching small issues before they become big, expensive problems. Start at the top and work your way down. Check all the visible hoses for cracks or bulges, especially the fuel lines. Look for any signs of oil or fluid leaks around the engine block or the lower unit. Sometimes a minor drip can indicate a bigger seal problem brewing.
Pay close attention to your propeller. Even a slight ding or bend can impact performance and put unnecessary strain on your engine. If you've been fishing in shallow, rocky areas, it's particularly important to inspect for prop damage. While you're down there, carefully check around the propeller shaft for any fishing line that might have wrapped around it. Even monofilament can cut through seals over time, leading to water intrusion in your lower unit. A quick check after each trip can save you from an unexpected breakdown next time you're trying to find Where to Catch Walleye on Lake Oahe in Spring.
Fuel System Maintenance to Prevent Headaches
The fuel system is often the culprit behind frustrating engine issues. Modern ethanol-blended fuels can be particularly troublesome if not managed correctly, leading to everything from hard starting to outright engine failure. It's an area where a little proactive effort goes a long, long way in keeping your outboard purring like it should.
Stabilizing Fuel and Topping Off Tanks
One of the biggest enemies of your outboard's fuel system is stale fuel, especially if it contains ethanol. Ethanol attracts and absorbs water, leading to phase separation where the water and ethanol sink to the bottom of your tank, creating a corrosive sludge that wreaks havoc on your engine components. This process accelerates when fuel sits for extended periods. To combat this, always use a high-quality fuel stabilizer, like Sta-Bil Marine Formula, every time you fill up, or at the very least, before any extended storage period. You can find these easily at your local Bass Pro Shops or through Amazon.
It's also a good practice to top off your fuel tank after each outing, leaving as little air space as possible. This minimizes the amount of moisture that can condense inside the tank and mix with your fuel. If you know your boat will be sitting for a week or two, adding stabilizer and ensuring the tank is full will keep your fuel fresh and ready for your next adventure. This simple step is especially vital for those who don't run their boats constantly, helping prevent gummed-up carburetors or injectors that lead to sputtering and poor performance. For those thinking ahead to How to Winterize a Boat in South Dakota, fuel stabilization is absolutely non-negotiable.
Checking and Replacing Fuel Filters
Your fuel filters are the unsung heroes of your outboard's fuel system, diligently catching contaminants before they reach your delicate engine components. Over time, these filters can become clogged with sediment, rust, or the aforementioned water and ethanol gunk. A partially clogged fuel filter can restrict fuel flow, leading to performance issues like bogging down under acceleration, rough idling, or even a complete loss of power. Imagine trying to breathe through a clogged nose; your engine feels the same way.
Most outboards have at least one primary fuel filter, often a clear bowl-style filter/water separator, and sometimes an in-line filter closer to the engine. Make it a habit to visually inspect the primary filter's bowl after each trip for any signs of water (which will settle at the bottom) or excessive debris. If you see water, you need to drain it. Replacing fuel filters annually, or more frequently if you notice issues or fish in areas with questionable fuel quality, is a cheap insurance policy. Consult your owner's manual for the exact procedure or visit a certified marine technician. Keeping these filters clean is paramount to ensuring your motor is ready for your next South Dakota Missouri River Fishing Techniques outing.
Lubrication and Fluid Checks for Longevity
Proper lubrication is the lifeblood of any engine, and your outboard is no exception. Ignoring oil levels and grease points is like asking a marathon runner to compete without stretching – eventually, something's going to seize up or break down. Taking the time to check and maintain these critical fluids and points will ensure your engine components move freely and remain protected from the harsh marine environment.
Checking and Changing Lower Unit Gear Lube
The lower unit on your outboard contains a set of gears that transfer power from your engine to your propeller. These gears operate under immense stress and rely heavily on specialized gear lube for protection. Checking this fluid is crucial because it can reveal if water is entering your lower unit, which is a common problem that can quickly lead to catastrophic gear failure. When water mixes with gear lube, it creates a milky, emulsified fluid that loses its lubricating properties.
After your boat is out of the water, locate the two drain/fill screws on the lower unit (one at the bottom, one a few inches above it). Remove the bottom screw first, and let a small amount of fluid drain into a clean container. If it's clear and golden or amber, you're usually good. If it's milky white or foamy, you've got a water intrusion problem that needs immediate attention. You should plan to change your gear lube at least once a year, or more often if you fish heavily or suspect water contamination. Products from brands like Bass Pro Shops or those readily available on Amazon make this a manageable DIY task for many boaters.
Greasing Fittings and Moving Parts
Just like your car needs grease for its moving parts, your outboard has various grease fittings (zerk fittings) and pivot points that require regular lubrication. These spots are typically found around the steering tube, tilt and trim mechanisms, and prop shaft. Greasing these points prevents rust, corrosion, and seizing, ensuring smooth operation of your motor's moving components. Without proper grease, steering can become stiff, and your tilt and trim unit might struggle to operate, making it difficult to adjust your motor for different water conditions or even get your boat off the trailer.
Use a marine-grade grease applied with a grease gun. Refer to your owner's manual for a diagram of all the grease points and the recommended frequency. Typically, a good greasing every few months, or more often if you're frequently dunking your boat in and out of the water, will suffice. This preventative maintenance is particularly important for boats that are stored outdoors or in humid conditions, where rust can set in quickly. Keeping these points lubricated not only prolongs the life of your components but also makes operating your boat much more enjoyable, letting you focus on the fish, not a creaky motor. This is part of the overall regimen, like learning about South Dakota Boat Safety Requirements to ensure your vessel is always in top shape.
Battery Care and Electrical Connections
Electrical problems can be incredibly frustrating on the water. A dead battery or corroded connection can ruin a fishing trip before it even starts. Just like everything else on your boat, your battery and electrical connections need regular attention to ensure reliable starting power and proper function of your electronics, like your fish finder when you're trying to How to Read Contour Lines on a Lake Map.
Inspecting and Cleaning Battery Terminals
Corrosion is the arch-nemesis of battery terminals and electrical connections. That white, crusty buildup you sometimes see is more than just unsightly; it impedes the flow of electricity, leading to weak starts or even complete power loss. After each trip, especially if you notice any sluggishness when starting your motor, lift your battery cover and take a good look at your battery terminals and cable connections.
If you spot corrosion, it's time for a cleaning. Disconnect the negative terminal first, then the positive. Use a wire brush and a mixture of baking soda and water to scrub away the corrosion. Rinse thoroughly with clean water (being careful not to get it inside the battery vents) and dry completely. Once clean, reattach the positive terminal, then the negative. You can apply a thin layer of dielectric grease or a battery terminal protector spray (found at auto parts stores or marine shops like Bass Pro Shops) to help prevent future corrosion. Clean, tight connections are paramount for reliable starting power.
Charging and Storing Batteries Between Trips
Even if your motor starts fine, your boat battery is constantly being drained by things like your bilge pump, fish finder, and other electronics. Not fully charging your battery between trips can shorten its lifespan significantly. Investing in a good quality marine-grade smart charger or battery maintainer is one of the best investments you can make for your boat. These chargers monitor your battery's charge level and provide the appropriate current to keep it topped off without overcharging.
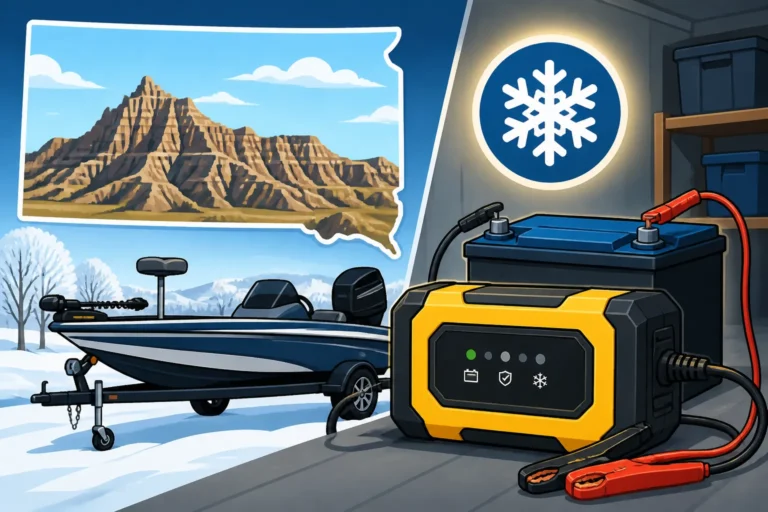
If your boat will be sitting for an extended period, particularly during the cold South Dakota winter months, consider removing the battery and storing it in a cool, dry place. A battery tender can keep it conditioned throughout the off-season. Cold weather can reduce a battery's cranking power and increase the risk of freezing if the charge is low. Proper charging and storage ensure your battery is always ready to go, whether you're heading out for Spring Fishing in South Dakota or getting ready for the ice to melt. For specific advice on keeping your battery in top shape, check out Best Marine Battery Charger for Winter Storage.
| Task | Frequency (Between Trips) | Why It's Important |
|---|---|---|
| Flush Outboard Motor | Every Trip | Removes salt, silt, debris; prevents corrosion and overheating. |
| Visual Inspection (Prop, Hoses, Leaks) | Every Trip | Catches minor issues before they become major problems; ensures safe operation. |
| Check Battery Terminals | Every Few Trips | Prevents corrosion, ensures strong electrical connection for reliable starting. |
| Top Off Fuel Tank with Stabilizer | Every Trip (or longer storage) | Prevents fuel degradation, water absorption, and engine issues. |
| Check Fuel Filter Bowl (for water) | Every Few Trips | Identifies water in fuel early, protecting engine components. |
| Check Lower Unit Gear Lube (for water) | Monthly / Every 50 hrs | Detects water intrusion, prevents costly gear failure. |
| Grease Fittings | Monthly / Every 50 hrs | Prevents rust, corrosion, and seizing of moving parts; ensures smooth operation. |
| Charge Battery | Every Trip | Maintains battery health, prolongs lifespan, ensures reliable starts. |
Ultimately, taking care of your outboard motor isn't just about avoiding breakdowns; it's about maximizing your enjoyment on the water. Those extra few minutes after a successful day of fishing are a small price to pay for the peace of mind that your motor will fire right up next time you're ready to chase those fish. Happy boating, and tight lines!
Disclaimer
This article is for general informational purposes only and does not constitute professional advice. Laws, prices and regulations vary by location and change over time. Consult a qualified professional for guidance on your specific situation.